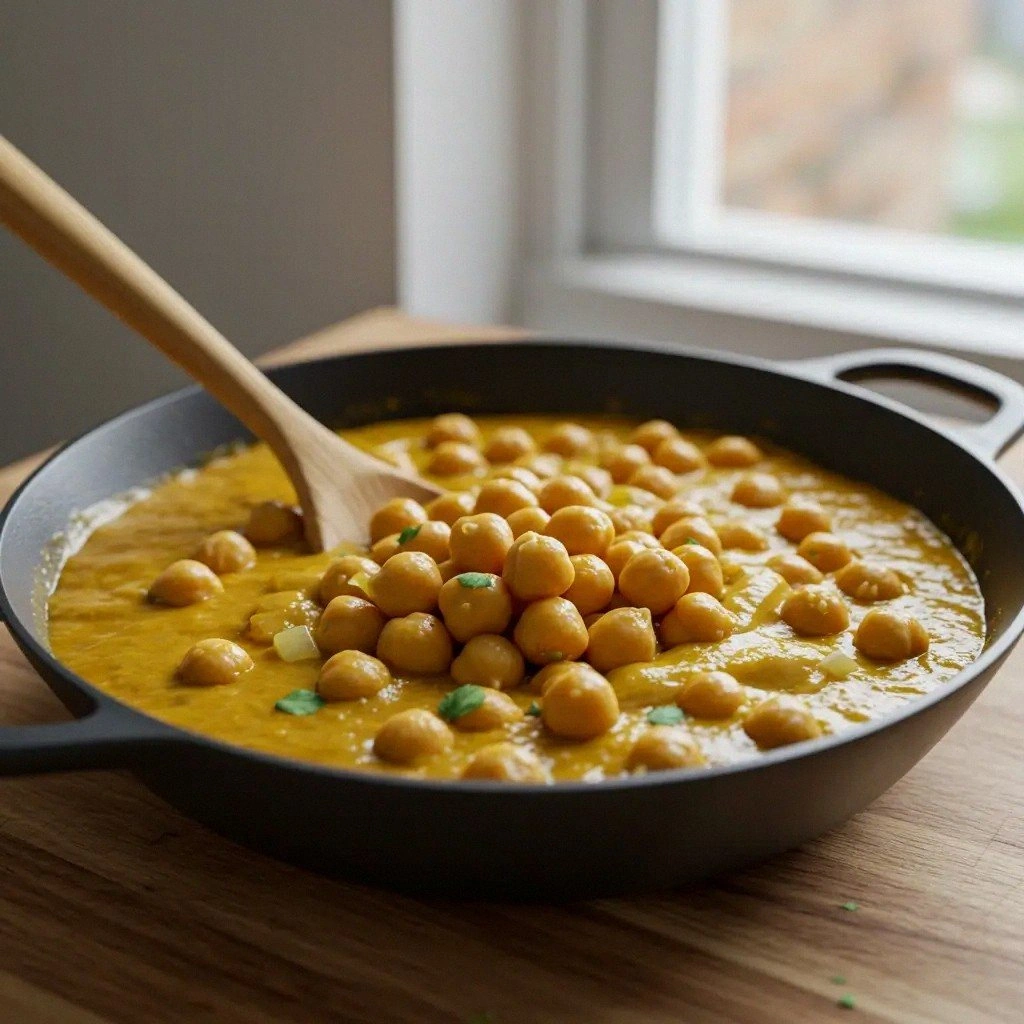
Okay, picture this: it’s a rainy Saturday afternoon, the kind where you stare out the window, see the puddles reflecting the streetlights, and suddenly a craving for something warm, buttery, and just soft enough to fold a generous spoonful of soup into hits like a love‑letter to your taste buds. I was halfway through a marathon of “no‑yeast” recipes, each one turning out like cardboard masquerading as bread, when a rogue kitchen mishap sparked the birth of this flatbread. I over‑buttered a pancake, it puffed up like a lazy cloud, and the moment I bit into that golden disc, I heard my own gasp echoing off the tile. That was the eureka—the perfect blend of fluff, melt‑in‑your‑mouth tenderness, and a buttery kiss that doesn’t scream “cheesy.”
From that instant, I knew I had to capture the magic in a reproducible recipe that anyone could pull off without a stand mixer or a science degree. The scent of butter melting into flour is the kind of olfactory hug that makes you forget you’re even cooking; it’s warm, nutty, and slightly sweet, like a sunrise in a pan. As the dough comes together, it feels like you’re coaxing a shy animal into a hug—soft, pliable, and ready to spring into anything you imagine. The moment the first flatbread hits the sizzling skillet, you hear that tiny, satisfying sizzle that feels like applause from the kitchen gods themselves.
Most flatbread recipes on the internet either demand a yeast starter that sits idle for hours, or they call for obscure oils that turn the dough into a rubbery slab. I’m here to tell you: you don’t need any of that. This version skips the yeast, leans on a handful of pantry staples, and yet manages to achieve a pillowy texture that rivals the best bakery‑made pitas. The secret? A perfectly measured butter‑milk blend that laminates the flour fibers, and a gentle heat that creates those coveted golden spots without drying the interior. It’s hands down the best version you’ll ever make at home, and yes, I dare you to taste this and not go back for seconds.
I’m about to walk you through every single step—by the end, you’ll wonder how you ever made a flatbread any other way. I’ll reveal a technique usually reserved for professional chefs (hint: it involves a quick rest that changes everything), and a little ingredient swap that adds a buttery depth you didn’t know you were missing. Ready for the game‑changer? Let’s dive in and make flatbread history together.
What Makes This Version Stand Out
- Taste: The butter‑milk mixture infuses each crumb with a rich, creamy flavor that feels luxurious without being heavy.
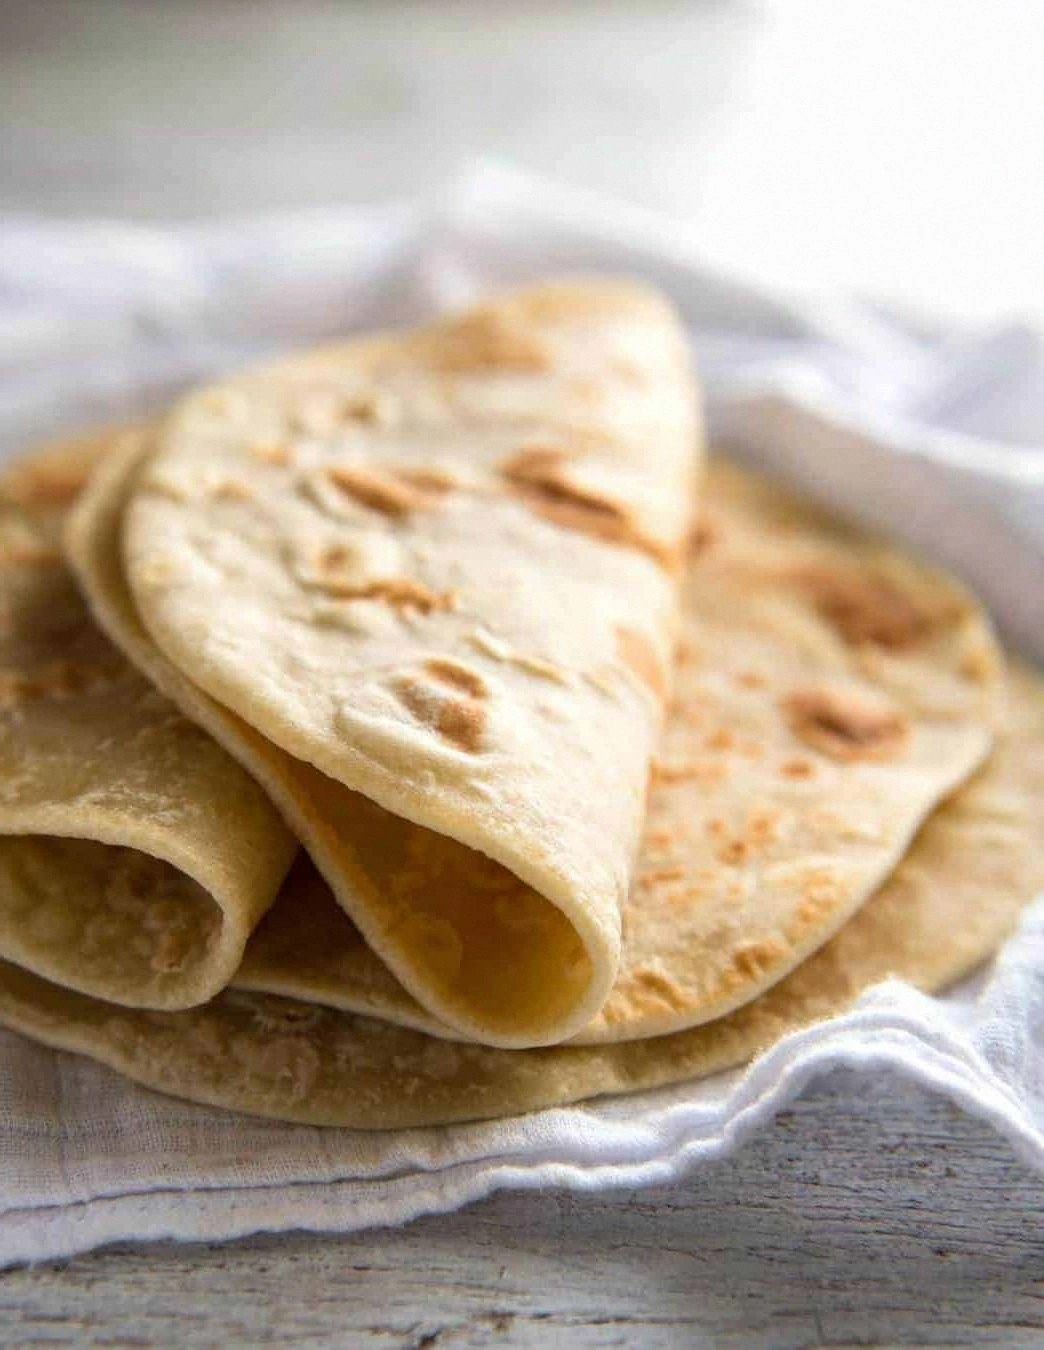
- Texture: A delicate, slightly airy interior wrapped in a subtly crisp, golden‑brown exterior that yields to the bite like a cloud.
- Simplicity: Only four ingredients, no rising time, and no special equipment—just a skillet, a whisk, and a willingness to have fun.
- Uniqueness: The quick‑rest method creates tiny air pockets, giving the flatbread its feather‑light lift without yeast.
- Crowd Reaction: Even the most skeptical eaters confess they’ve never encountered such softness outside a restaurant kitchen.
- Ingredient Quality: Using real unsalted butter and fresh whole‑milk makes a measurable difference in flavor depth.
- Cooking Method: Pan‑frying locks in moisture while imparting those classic, slightly charred “kiss marks” that scream homemade.
- Make‑Ahead Potential: These beauties store beautifully, and a quick steam‑reheat restores that just‑baked glory.
Inside the Ingredient List
The Flavor Base
Flour is the canvas, the silent partner that holds everything together. I stick to all‑purpose plain flour because it provides just the right balance of protein and starch to create that soft chew without turning tough. If you opt for whole‑wheat, expect a nuttier taste but also a denser crumb—still tasty, just a different character. Skipping flour is not an option; without it you’d have a butter‑milk puddle, and trust me, that’s a kitchen nightmare you don’t want to relive.
The Texture Crew
Salt isn’t just for seasoning; it strengthens the gluten network, ensuring the flatbread holds its shape while staying tender. A half‑teaspoon may sound minuscule, but it’s enough to brighten the buttery flavor without making the dough salty. If you’re on a low‑sodium diet, you can reduce it to a pinch, but expect a slightly flatter flavor profile.
The Unexpected Star
Butter, the undisputed hero of this recipe, does more than add richness. Its fat literally coats the flour particles, inhibiting excessive gluten formation and resulting in a melt‑in‑your‑mouth crumb. I use unsalted butter so you can control the salt level, and I melt it just enough to stay liquid but not so hot that it begins to brown—this preserves its sweet, creamy notes. If you’re out of butter, a high‑quality margarine works, but you’ll miss that nuanced dairy depth.
The Final Flourish
Milk brings hydration and a touch of lactose sweetness. Whole milk works best because the extra fat contributes to a softer texture; you could substitute with 2% if you’re watching calories, but the flatbread will be a shade less tender. The ratio of 3/4 cup to the dry ingredients ensures the dough is pliable but not sticky, which is crucial for rolling out thin discs without tearing.
Everything’s prepped? Good. Let’s get into the real action and transform these humble ingredients into a stack of pillow‑soft, golden discs that will have everyone reaching for more.
The Method — Step by Step
In a large mixing bowl, whisk together the flour and salt until they’re evenly combined. The mixture should look uniformly speckled, like a soft sandstorm waiting for the wind. I like to give it a quick tumble with my hand to make sure there are no pockets of dry flour clinging to the sides. Pro tip: this ensures the butter will melt into every crevice later.
Melt the butter in a small saucepan over low heat; watch as it turns from a solid block to a glossy liquid. As soon as it’s completely melted and just barely starts to bubble, remove it from the heat—no browning allowed, we want that buttery purity. Pour the melted butter into the flour mixture, and using a wooden spoon, stir until the dough looks crumbly, like wet sand at the beach.
Add the milk gradually, pouring a little at a time while you continue to stir. The dough will start to come together, forming a shaggy ball that clings to the spoon. Watch Out: If you add the milk too quickly, you might end up with a runny batter instead of a pliable dough.
Kitchen Hack: Use a measuring cup with a spout for the milk; it gives you control and prevents accidental over‑pouring.Turn the dough out onto a lightly floured surface and knead gently for about 30 seconds—just enough to bring everything together. You’ll feel the dough become smooth and slightly tacky, like a well‑conditioned pastry. Over‑kneading is the enemy; it will develop too much gluten and rob the flatbread of its signature softness.
Cover the dough with a clean kitchen towel and let it rest for 10 minutes. This short rest lets the flour hydrate fully, creating those tiny air pockets we mentioned earlier. While you wait, set a skillet on medium heat and give it a minute to warm up. Pro tip: a warm pan is the secret to those golden speckles that look like tiny sun‑kissed freckles.
After the rest, divide the dough into eight equal portions and roll each one into a smooth ball. Using a rolling pin, flatten each ball into a 6‑inch circle—don’t be afraid to roll thin; this flatbread is meant to be delicate, not doughy. If the dough springs back, let it sit for another minute; the gluten will relax and give you a smoother roll.
Place a single flatbread onto the hot skillet. You’ll hear the instant sizzle, a sound that tells you the pan is just right. Cook for about 45 seconds, or until you see bubbles forming on the surface and the underside turns a buttery golden brown. Flip carefully with a spatula, and cook the other side for another 30–40 seconds. That sizzle when it hits the pan? Absolute perfection.
Remove the cooked flatbread and place it on a wire rack; cover loosely with foil to keep it warm and soft while you repeat the process with the remaining dough. The foil traps steam, ensuring every piece stays as pillowy as the first.
When all flatbreads are cooked, brush each one with a whisper of melted butter for extra shine and flavor. Serve immediately with your favorite dip, or use them as a base for wraps, bruschetta, or a quick breakfast sandwich. And now the fun part: watch your family or friends dive in, their eyes widening as they bite into that buttery cloud.
Watch Out: If the pan is too hot, the flatbread will burn on the edges before the middle cooks through. Adjust the heat to medium‑low if you notice rapid darkening.
That’s it — you did it. But hold on, I’ve got a few more tricks that’ll take this to another level, because once you’ve mastered the basics, the sky’s the limit for flavor.
Insider Tricks for Flawless Results
The Temperature Rule Nobody Follows
Most home cooks crank the heat up to “fast cook,” which leads to a burnt exterior and a raw center. I keep my skillet at a steady medium heat, roughly 350°F (175°C), letting the flatbread slowly develop its golden crust. The consistent temperature gives the butter enough time to seep into the dough without evaporating, resulting in that buttery sheen we love. A friend once tried a high‑heat blast and ended up with a crunchy rim that cracked like a stale cracker—don’t be that person.
Why Your Nose Knows Best
When the flatbread is nearly done, the aroma shifts from buttery to slightly nutty. That subtle change signals the perfect flip moment. Trusting your nose beats counting seconds; cooking is as much about scent as it is about sight. I’ve had moments when the timer was off by a minute, yet the nose never lies—if you smell that caramel‑like whisper, it’s time to turn.
The 5‑Minute Rest That Changes Everything
After you finish cooking the entire batch, let the stack rest under a clean kitchen towel for five minutes. The trapped steam redistributes moisture, ensuring every flatbread stays supple. Skipping this rest leaves the edges a tad dry, and that’s the difference between a “good” flatbread and a “wow‑worthy” one. I’ve been known to snack on the warm loaves during this pause—don’t judge, it’s part of the process.
Butter‑Brushed Finish
A light brush of melted butter right after cooking adds a gloss that makes the flatbread look restaurant‑ready. Use a pastry brush and dribble just enough to coat the surface; you don’t want it swimming, just a delicate veil. The butter continues to melt into the pores, creating a mouthfeel that’s both silky and slightly crisp where the heat kissed it.
The Secret of Using Cold Milk
Cold milk slows the gluten development in the dough, resulting in a softer crumb. It may feel counterintuitive, but the cooler temperature gives you a more tender final product. If you use warm milk, the dough can become a bit tough, especially if you over‑knead. I keep the milk straight from the fridge; the slight chill is a hidden ally.
Creative Twists and Variations
This recipe is a playground. Here are some of my favorite ways to switch things up:
Herb‑Infused Bliss
Add a tablespoon of finely chopped fresh rosemary or thyme to the flour before mixing. The herbaceous aroma pairs beautifully with the butter, turning the flatbread into a perfect accompaniment for grilled meats or a savory breakfast scramble.
Garlic‑Lover’s Dream
Mince two cloves of garlic and sauté them in the butter before mixing it into the dough. The garlic mellows as it cooks, infusing each bite with a fragrant warmth that’s perfect for dipping in marinara or olive oil.
Sweet Cinnamon Swirl
Swap the salt for a teaspoon of cinnamon and a pinch of sugar. After cooking, brush the flatbread with honey and a dusting of powdered sugar for a breakfast treat that feels like a toasted pastry.
Cheesy Cheddar Pocket
Once you’ve rolled out a circle, place a thin slice of sharp cheddar in the center, fold the dough over, and seal the edges before cooking. The cheese melts inside, creating a gooey core that’s irresistible with a side of salsa.
Spicy Chili Kick
Incorporate a teaspoon of chili powder and a pinch of cayenne into the dry ingredients. The subtle heat builds a bold profile that’s fantastic for taco‑style wraps or as a base for a spicy hummus.
Whole‑Grain Upgrade
Replace half of the plain flour with whole‑wheat flour for a nuttier flavor and added fiber. The texture becomes a bit denser, but the butter still works its magic to keep the flatbread soft.
Storing and Bringing It Back to Life
Fridge Storage
Place the cooled flatbreads in an airtight container or zip‑top bag, layering parchment paper between each to prevent sticking. They’ll stay fresh for up to three days, retaining most of that buttery softness. If you notice a slight dryness, a quick brush of melted butter before reheating revives them instantly.
Freezer Friendly
Stack the flatbreads with parchment sheets and seal them in a freezer‑safe bag. They freeze beautifully for up to two months. When you’re ready to eat, let them thaw in the fridge for an hour, then give them a brief 30‑second blast in a hot skillet; the steam will bring them back to life.
Best Reheating Method
The secret to revival is steam. Lightly spritz the flatbread with water (just a few drops), then cover with foil and warm in a 350°F oven for five minutes. The moisture re‑creates that fresh‑out‑of‑the‑pan feel, and the buttery aroma returns in full force.