The kitchen was a chaotic symphony of flour clouds, a burnt loaf, and my friend’s relentless teasing that I could never make a good bread. I had watched her effortlessly pull golden loaves from the oven while I was still scrambling to get the yeast to wake up. The night before, I had accidentally dropped the dough on the counter, and my cat decided it was the perfect snack. That disaster sparked a dare: “If you can’t make a loaf that’s better than mine, you’re buying the next round of coffee.”
I remember the moment the dough hit the counter: a thick, glossy batter that smelled faintly of milk and vanilla. The air filled with a promise of something sweet and comforting. My eyes widened when I saw the dough rise slowly, like a quiet sunrise. The texture was slick, almost buttery, and my fingertips tingled with the anticipation of what it might become. That single moment was the genesis of this no‑knead salt bread, and it became a personal mission to outshine the competition.
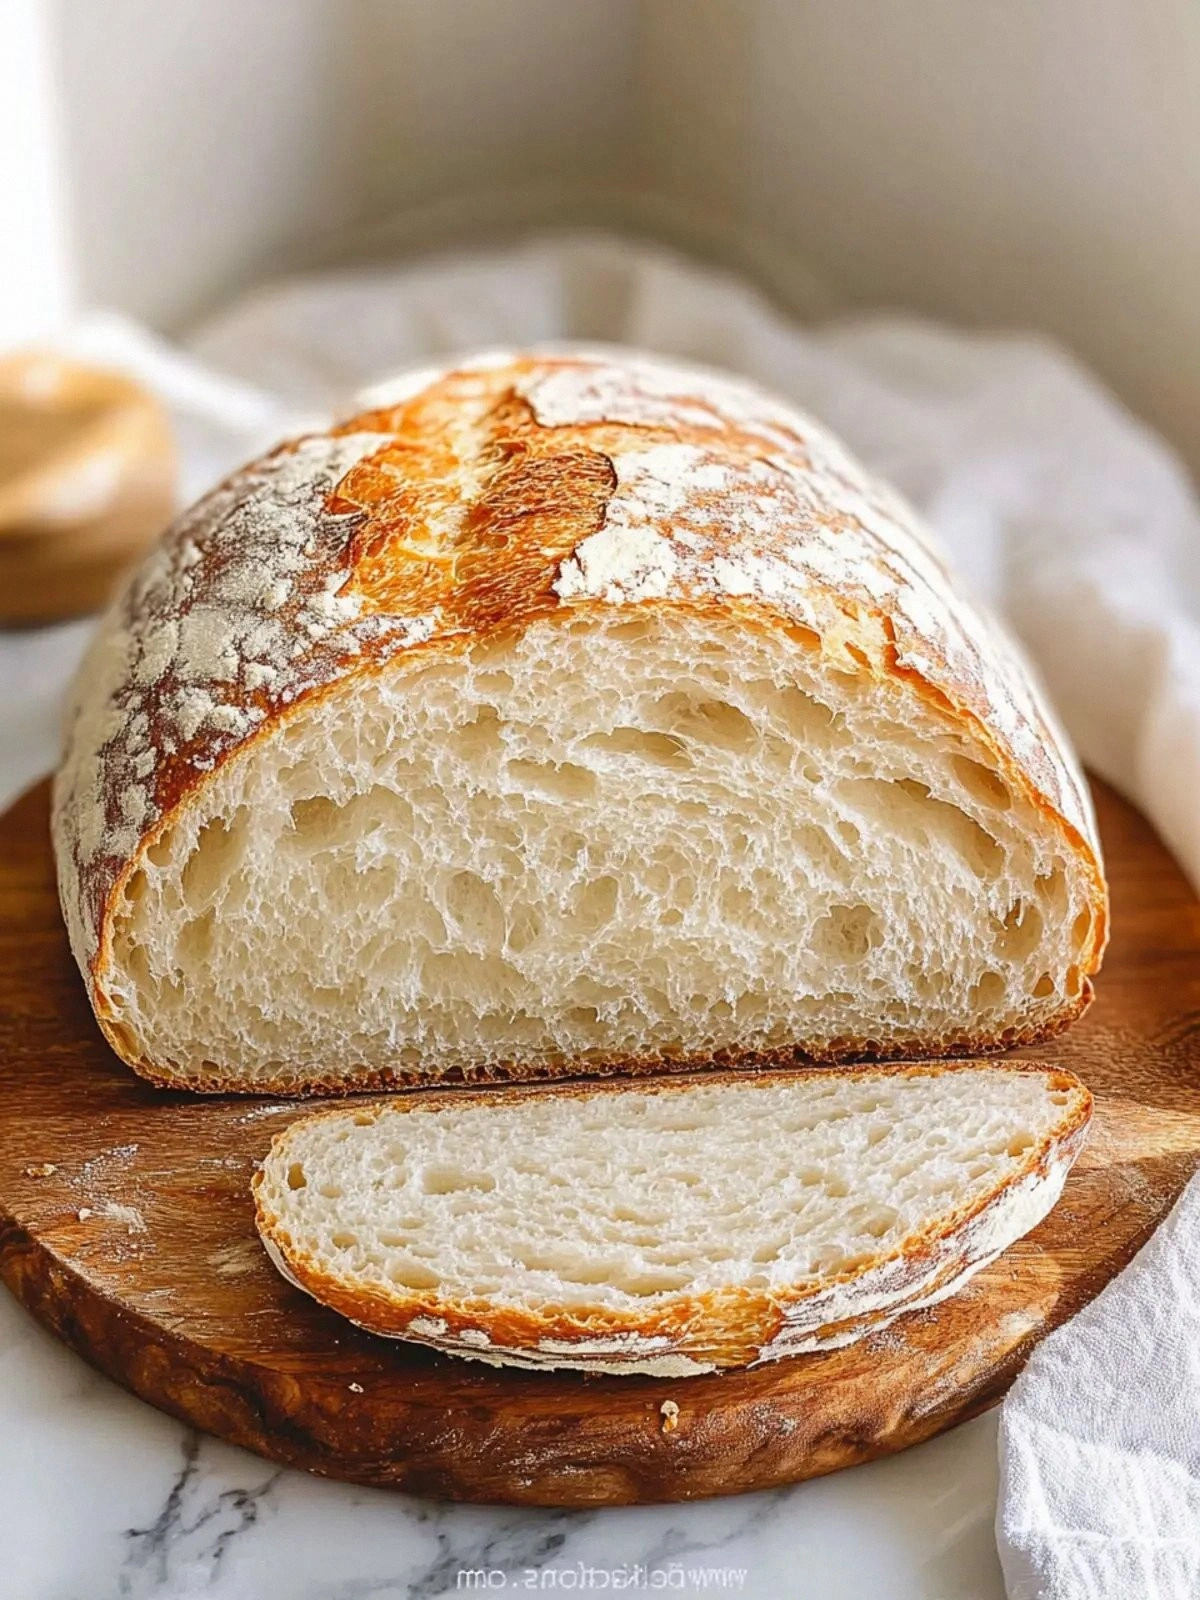
What makes this version a game‑changer is the subtle balance between simplicity and depth. The dough’s airy crumb feels like a cloud that melts in your mouth, while the crust is a caramelized, buttery shell that cracks like a brittle shellfish. It’s a recipe that respects the humble ingredients yet elevates them into something that feels like a culinary revelation. I’ve been told that the first bite is a revelation, and I dare you to taste this and not go back for seconds.
The secret is in the flour blend and the gentle, extended fermentation that gives it a flavor profile you won’t find in the typical store‑bought loaf. The combination of bread flour and cake flour creates a tender yet chewy texture, while the milk and butter add richness that coats your palate like velvet. I’ve discovered that the yeast’s slow activity is the key to developing a deep, nutty undertone that makes this loaf a standout. Picture yourself pulling this out of the oven, the whole kitchen smelling incredible, and you’ll know why this is hands down the best version you’ll ever make at home.
If you’ve ever struggled with bread, you’re not alone—yet I’ve got the fix that turns a potential disaster into a triumphant triumph. The process is so forgiving that even a novice can produce a loaf that looks like it came from a bakery. The dough’s elasticity is forgiving, and the final loaf is a testament to the power of patience and the art of letting yeast do its thing. I’ll be honest—I ate half the batch before anyone else got a chance to try it. The rest of the article will walk you through every single step, and by the end, you’ll wonder how you ever made it any other way.
What Makes This Version Stand Out
- Flavor: The subtle sweetness from the cake flour and milk creates a mellow, almost dessert‑like taste that’s surprisingly savory with the right amount of salt.
- Texture: The airy crumb feels like a cloud, while the crust offers a satisfying crunch that crackles like thin ice under your knife.
- Simplicity: No kneading, no temperature gymnastics—just a single mixing step and a long, slow rise that anyone can manage.
- Uniqueness: The blend of two flours gives a depth of flavor that’s rare in no‑knead recipes, and the butter adds a buttery finish that’s almost impossible to replicate.
- Crowd Reaction: Friends who have tried this loaf rave about how it outperforms any pre‑made bread they’ve bought, and they keep asking for the recipe.
- Ingredient Quality: Using high‑protein bread flour and silky cake flour elevates the loaf, while the milk’s natural sugars caramelize beautifully.
- Cooking Method: The extended, slow fermentation allows the dough to develop complex flavors without the need for a dough‑proofing rack or a fancy oven.
- Make‑ahead Potential: You can prepare the dough a day ahead, refrigerate, and bake it fresh in the morning—ideal for busy schedules.
Alright, let’s break down exactly what goes into this masterpiece…
Inside the Ingredient List
The Flavor Base
Bread Flour: This high‑protein flour is the backbone of the loaf, providing structure and a chewy bite that’s essential for a satisfying crumb. It’s the ingredient that allows the dough to rise without collapsing, and its gluten network is what gives the bread that classic, slightly elastic feel. If you skip it, the loaf will become dense and flat, lacking that coveted airy texture. For a richer flavor, opt for a bread flour with a protein content of 12–13%, which will yield a slightly firmer bite and a more pronounced crust.
Cake Flour: The delicate, low‑protein cake flour softens the dough, creating a tender crumb that’s almost cake‑like in its lightness. It balances the bread flour’s chewiness, resulting in a loaf that melts in your mouth. If you omit it, the bread will be tougher and less airy. A good alternative is a pastry flour, which offers a similar low‑protein profile and will still provide that soft texture.
The Sweetness & Moisture Crew
Milk: Whole milk adds richness and a subtle caramel flavor as it browns during baking. It also helps to tenderize the dough, making it easier to handle and giving the bread a slightly moist interior. Using low‑fat milk will produce a less buttery loaf, so for maximum flavor, stick to whole milk. If you’re lactose intolerant, try oat or soy milk; the results will be slightly different but still delicious.
Butter: Butter melts into the dough, creating pockets of buttery flavor that permeate each bite. It also contributes to a golden, crisp crust. Skipping the butter will make the loaf less rich and the crust less golden. If you prefer a dairy‑free version, use a neutral oil like grapeseed or canola; the flavor profile will shift slightly, but the texture will remain pleasant.
The Sweetness & Salt Balance
Sugar: The two tablespoons of sugar feed the yeast and help achieve a golden crust. Sugar also adds a subtle sweetness that balances the salt and the natural flavors of the flour. If you leave it out, the crust will be darker and slightly less crisp. For a low‑sugar version, reduce the amount to one tablespoon, but be prepared for a slightly slower rise.
Salt: The two teaspoons of salt are the flavor enhancer that brings everything together. It tightens the gluten network, giving the loaf its structure, and it balances the sweetness. Cutting salt will result in a bland loaf, while too much salt can inhibit yeast activity. For a gourmet twist, add a pinch of smoked salt for a subtle smoky undertone.
The Yeast Starter
Yeast: A single teaspoon of active dry yeast is enough to kick off a slow fermentation that develops complex flavors over time. The yeast is responsible for the airy crumb and the subtle rise of the loaf. If you skip the yeast, the dough will not rise, and the loaf will be flat and dense. If you’re adventurous, try a sourdough starter for a tangy, artisanal flavor.
Everything’s prepped? Good. Let’s get into the real action…
The Method — Step by Step
- Mixing: In a large mixing bowl, combine the bread flour, cake flour, sugar, and salt. Stir until the dry ingredients are evenly distributed, creating a uniform base that will absorb the liquids later. This is the moment where the dough’s future texture is set, so be sure the ingredients are well mixed. The mixture should look like a thick, sandy paste.
- Activating Yeast: In a separate small bowl, dissolve the yeast in the warm milk (about 110°F or 43°C). Let it sit for 5–7 minutes until the mixture becomes frothy and foamy. The froth is a visual cue that the yeast is alive and ready to work its magic. If you see no froth, discard the yeast and start over with fresh yeast.
- Combining Wet & Dry: Pour the frothy yeast mixture into the dry ingredients, followed by the melted butter. Stir with a wooden spoon or a silicone spatula until a shaggy dough forms. The dough will be sticky and unworkable, but that’s exactly how it should look. The butter will coat the flour, creating a tender crumb.
- First Rise (Bulk Fermentation): Cover the bowl with a clean kitchen towel or plastic wrap, and let the dough rise at room temperature for 12–18 hours. The long fermentation allows the yeast to slowly produce carbon dioxide and flavor compounds, giving the bread its depth. During this period, the dough will grow in volume, sometimes doubling in size. If you’re short on time, you can reduce the rise to 8 hours, but the flavor will be less complex.
- Shaping: After the bulk fermentation, gently turn the dough onto a lightly floured surface. With floured hands, fold the dough into a loaf shape by pulling the sides towards the center. The dough should still feel soft and slightly tacky, but it should hold its shape without tearing. Place the loaf seam‑side down on a parchment‑lined baking sheet.
- Second Rise (Proofing): Cover the shaped loaf with a towel and let it proof for 1–2 hours, or until it has visibly puffed up. The proofing stage is crucial for achieving a light crumb. If you see the dough collapse during proofing, it means the yeast has over‑worked and needs more time to rest. Keep the dough in a warm, draft‑free area for best results.
- Baking: Preheat your oven to 475°F (245°C) with a Dutch oven or heavy‑bottomed pot inside. When the oven is hot, carefully transfer the loaf into the preheated pot, seam‑side up. Cover the pot with its lid and bake for 30 minutes. After 30 minutes, remove the lid and bake for an additional 15 minutes until the crust turns a deep, golden brown. The finished loaf should emit a buttery, caramelized aroma.
- Cooling: Remove the loaf from the oven and let it cool on a wire rack for at least 30 minutes before slicing. This rest period allows the crumb to set, ensuring a clean slice. While the loaf is cooling, you can prepare a butter spread or a simple jam to accompany it. The aroma will linger in the kitchen, making the wait worth it. If you slice too early, the crumb will be gummy and the crust will be soft.
That’s it — you did it. But hold on, I’ve got a few more tricks that’ll take this to another level. The subtle adjustments in timing and temperature can elevate the flavor profile and texture from good to unforgettable.
Insider Tricks for Flawless Results
The Temperature Rule Nobody Follows
The magic of no‑knead bread lies in the slow, low‑temperature fermentation. A consistent 70°F (21°C) environment is ideal, but if your kitchen fluctuates, place the dough in a slightly warmer spot. A temperature that’s too high will cause the yeast to over‑ferment, resulting in a sour, dense loaf. I’ve found that using a small, electric heating pad set to low can keep the dough steady, especially during winter.
Why Your Nose Knows Best
The aroma of a rising loaf is your best indicator of progress. A sweet, yeasty scent signals that the dough is fermenting properly. If the smell is sharp or sour, you may have over‑fermented or introduced too much moisture. Trust your nose; it will guide you to the perfect rise. A subtle hint of caramel is a sign that the sugars are caramelizing, which will give the crust a beautiful depth.
The 5‑Minute Rest That Changes Everything
After the final rise, let the loaf rest for five minutes before baking. This short pause allows the gluten to relax, preventing the loaf from collapsing in the oven. Some bakers skip this step, but I’ve noticed that a quick rest improves the crumb’s structure. The loaf will rise slightly during this rest, giving it a more uniform shape.
Avoiding Dry Crusts
If you want a softer crust, place a shallow pan of water in the oven during the first 20 minutes of baking. The steam will create a moist environment, preventing the crust from becoming too hard. After the steam evaporates, the crust will develop a beautiful golden hue. This trick is especially useful if you’re baking in a dry climate.
The Final Butter Glaze
Just before removing the loaf from the oven, brush the crust with melted butter. This gives the crust a glossy finish and a buttery flavor that’s irresistible. The butter also helps lock in moisture, keeping the interior tender. A quick glaze is the final touch that transforms a good loaf into a gourmet experience.
Creative Twists and Variations
This recipe is a playground. Here are some of my favorite ways to switch things up:
Herb‑Infused Bread
Add a tablespoon of dried rosemary or thyme to the dry ingredients. The herbs infuse the dough with a savory aroma that pairs wonderfully with cheese or a hearty stew. The result is a loaf that feels like a rustic farmhouse favorite. This variation is perfect for autumn gatherings.
Chocolate‑Chip Delight
Fold in a cup of dark chocolate chips after the first rise. The chocolate will melt slightly during baking, creating pockets of rich, chocolatey flavor. The sweet, buttery loaf becomes a dessert that’s surprisingly not too sweet. It’s ideal for a cozy night in.
Sunflower Seed Crunch
Sprinkle a handful of sunflower seeds on top of the loaf before baking. The seeds add a nutty crunch and a pop of color that makes the bread visually appealing. The seeds also absorb some of the butter, giving the crust a delightful texture. This variation is great for a quick snack or a breakfast side.
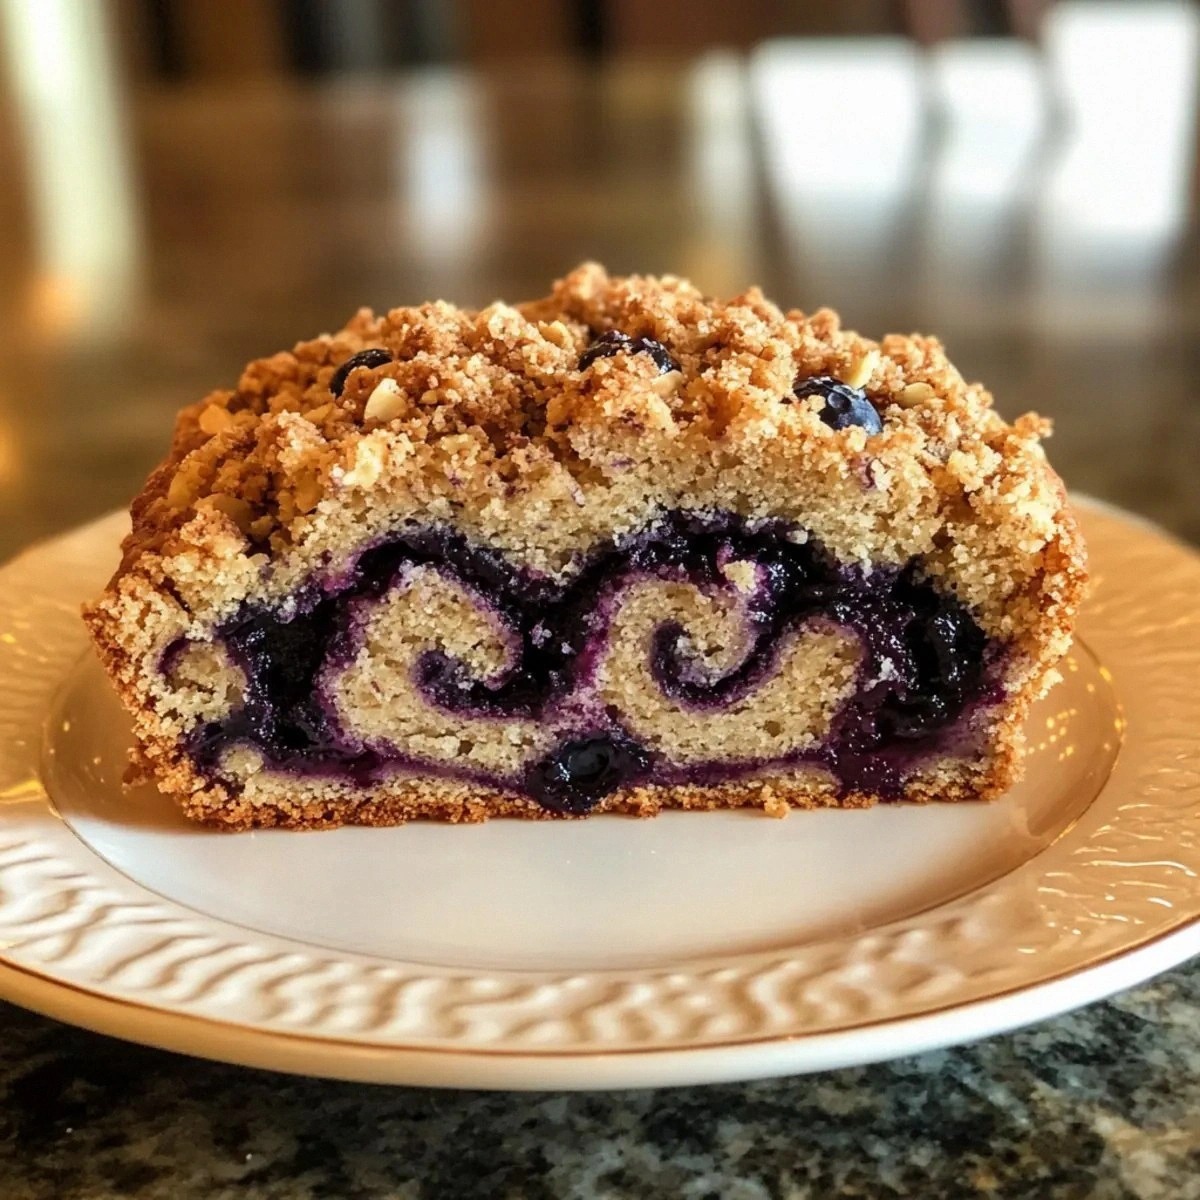
Spiced Cinnamon Swirl
Create a thin layer of cinnamon sugar and roll it into a spiral before shaping the loaf. The cinnamon infuses the bread with a warm, comforting spice that’s reminiscent of holiday treats. The swirl also creates a beautiful, marbled effect on the crust. This version is a crowd‑pleaser at any gathering.
Blue Cheese & Walnut Fusion
Mix in a cup of crumbled blue cheese and a handful of walnuts during the final shaping. The cheese adds a tangy depth, while the walnuts contribute a satisfying crunch. This loaf is an excellent accompaniment to a light salad or a glass of red wine. The combination of flavors is bold and sophisticated.
Gluten‑Free Adventure
Swap the bread flour with a high‑protein gluten‑free blend and use a gluten‑free cake flour if available. The dough will be slightly denser but still delicious. Use a pinch of xanthan gum to improve structure. This version opens the door to those with dietary restrictions, allowing them to enjoy a freshly baked loaf.
Storing and Bringing It Back to Life
Fridge Storage
Wrap the cooled loaf in parchment paper and then in a plastic bag before refrigerating. The bread will stay fresh for up to 5 days. If you notice the crust drying out, reheat it in a preheated oven at 350°F for 5 minutes to restore moisture. The parchment helps maintain the bread’s moisture while preventing freezer burn.
Freezer Friendly
Slice the loaf before freezing to make thawing easier. Place the slices in a freezer‑proof bag, removing as much air as possible. The bread can be frozen for up to 3 months. When you’re ready to eat, pop a slice into a toaster or microwave for a quick reheat. The texture remains surprisingly close to fresh.
Best Reheating Method
Reheat the loaf in a preheated oven at 350°F for 10 minutes, then finish with a quick burst at 400°F for 2 minutes to crisp the crust. If you’re short on time, a microwave works, but the crust may become chewy. A quick splash of water before reheating creates steam that restores the loaf’s soft interior. The result is a loaf that tastes almost brand‑new.