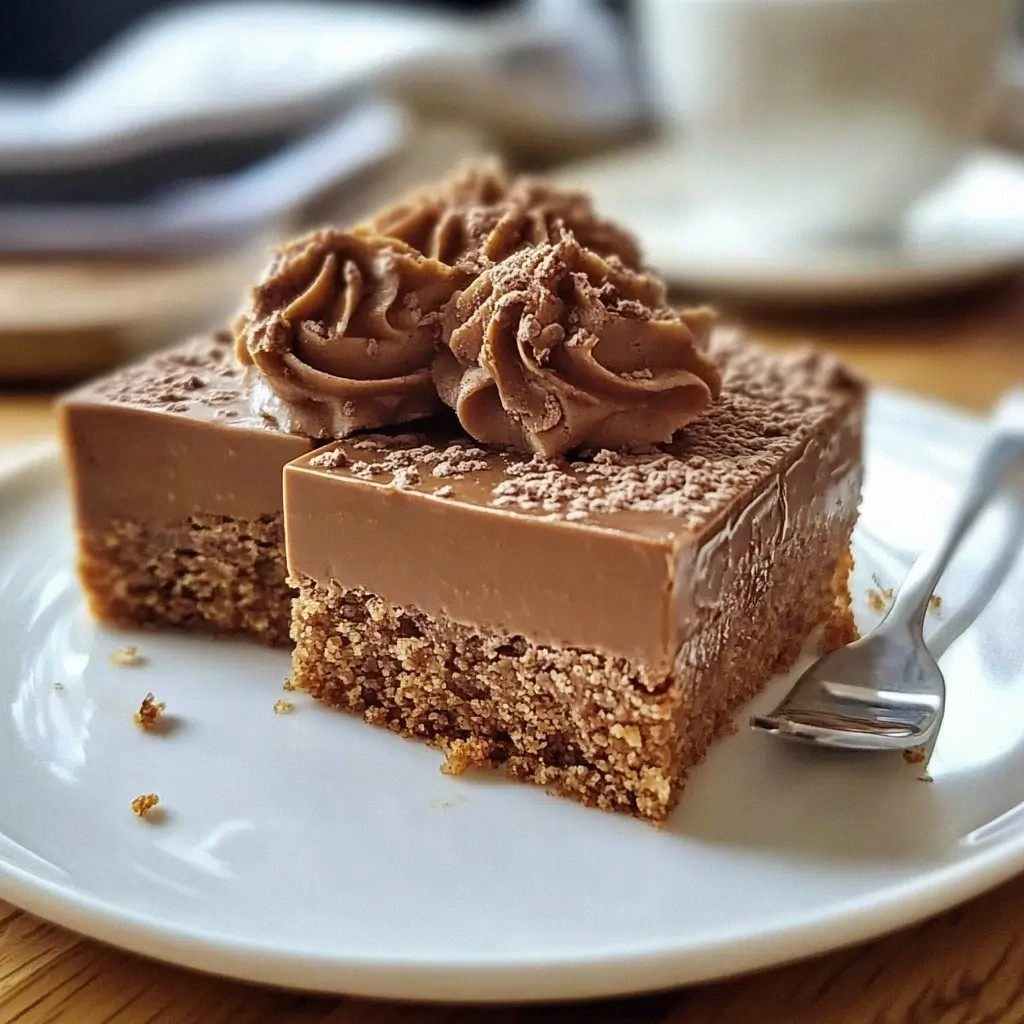
Picture this: I was in the middle of a frantic grocery run, juggling a bag of fresh berries, a bag of coffee beans, and a stack of recipes that seemed to promise more drama than a reality TV show. My roommate, a self‑proclaimed pastry nerd, dared me to create a dessert that could rival the coffee shop’s signature slice without using an oven. I laughed, grabbed a handful of flour, a dash of cocoa, and a steaming pot of coffee, and set out to craft a no‑bake marvel that would make even the most skeptical taste buds swoon. The result? A silky, chocolate‑coffee slice that melts in your mouth like a warm hug on a rainy afternoon. If you’ve ever thought that a slice of dessert could be both indulgent and instant, this is the proof you were missing.
When I first tasted the slice, the aroma hit me like a secret handshake—rich chocolate, bold coffee, and a hint of vanilla that whispered “I’ve been waiting for this.” The texture was a revelation: a buttery crumb that crumbles with a gentle sigh, a filling that oozes coffee‑laden ganache, and a glossy chocolate drizzle that caught the light like liquid gold. I could hear the faint crackle of the chocolate melting, feel the silky smoothness against my tongue, and taste the perfect balance of sweet and bitter. That moment was a culinary epiphany, and I knew I had to share this recipe with anyone who’d ever wanted a slice of heaven without the heat of an oven.
What sets this version apart isn’t just the fact that it’s no‑bake—it’s how every component works in concert to create a symphony of flavor. The coffee is brewed strong and cooled, allowing its robust notes to dominate without overpowering the chocolate. The butter is melted to the right temperature, ensuring it blends smoothly into the dry mix. The chocolate chips are chosen for their high cocoa content, giving depth and a subtle bitterness that complements the sweetness of the sugar. The result is a slice that feels decadent, yet feels like a well‑balanced treat that can be served at parties, brunches, or as a midnight snack.
And there’s a twist I didn’t expect: a splash of espresso powder in the dry mix that elevates the coffee flavor to a new level, creating a layered experience where each bite reveals a different note. I dare you to taste this and not go back for seconds, because once you start, you’ll find yourself craving the next bite like a secret. Picture yourself pulling this out of the fridge, the whole kitchen smelling incredible, and watching the glossy chocolate glaze catch the light as you slice. Let me walk you through every single step—by the end, you’ll wonder how you ever made it any other way.
What Makes This Version Stand Out
- Bold Flavor: The combination of espresso‑infused coffee and high‑cocoa chocolate creates a depth that ordinary slices lack. Each bite delivers a punch that wakes your palate and satisfies your sweet tooth simultaneously.
- Silky Texture: The melted butter and milk blend into the dry mix to form a crumb that feels like buttercream in a cookie. It’s the kind of softness that makes you question whether you’re eating a cake or a cookie.
- Zero Oven: No heat means no fuss. You can whip up this slice in a single day, making it a perfect solution for last‑minute gatherings or when you’re craving something sweet without a trip to the kitchen.
- Make‑Ahead Friendly: Store it in the fridge for up to a week or freeze it for longer. When you’re ready to serve, it’s already set—no extra steps required.
- Versatile Base: The simple dough can be dressed up with nuts, dried fruit, or a swirl of caramel for endless variations. It’s a blank canvas that invites creativity.
- Balanced Sweetness: The ratio of sugar to coffee is carefully calibrated so that the coffee’s bitterness doesn’t get lost. This balance ensures that neither flavor dominates, creating harmony in every bite.
- Audience Appeal: From coffee lovers to chocolate aficionados, this slice satisfies a wide range of tastes. It’s the kind of dessert that can be enjoyed by both kids and adults alike.
- Time Efficiency: Prep time is just 15 minutes, while the total time to set is 45 minutes—an impressive turnaround for a slice that feels like it took hours.
Alright, let's break down exactly what goes into this masterpiece...
Inside the Ingredient List
The Flavor Base
The dry mix—flour, sugar, cocoa powder, baking powder, and salt—forms the backbone of the slice. Each ingredient is measured to create a crumb that holds together without becoming dense. Skipping the baking powder will make the slice too heavy, while omitting the salt will leave the chocolate tasting flat.
The Texture Crew
Butter and milk are the secret agents that give the slice its buttery softness. The butter should be melted but not overheated; if it’s too hot, it can cause the mixture to separate. Milk adds moisture, but too much will make the dough sticky and hard to handle.
The Unexpected Star
Espresso powder is the unsung hero that deepens the coffee flavor. It dissolves easily in the dry mix, ensuring a uniform taste. If you prefer a milder coffee note, reduce the espresso powder to half a teaspoon.
The Final Flourish
Chocolate chips and chopped walnuts add both flavor and crunch. The chips melt into a glossy glaze, while the walnuts provide a satisfying bite. Feel free to swap walnuts for almonds or pecans for a different nutty profile.
Everything's prepped? Good. Let's get into the real action...
The Method — Step by Step
- Gather the dry ingredients. In a large bowl, sift together the flour, sugar, cocoa powder, baking powder, and salt. This ensures an even distribution of leavening agents and prevents clumps. The fine texture of the sifted mix is essential for a smooth crumb.
- Blend the espresso powder. Sprinkle the espresso powder over the dry mix and whisk until fully incorporated. The espresso’s fine particles will dissolve evenly, giving the slice a consistent coffee flavor from the first bite to the last.
- Prepare the wet mixture. In a saucepan, combine the melted butter and milk over low heat. Stir until the butter is fully emulsified with the milk; this step prevents the mixture from separating later on. Keep the heat low to avoid scorching the milk.
- Combine wet and dry. Pour the butter‑milk mixture into the dry ingredients and stir with a wooden spoon until a sticky dough forms. Don’t overmix; a few lumps are fine and will help create a tender crumb.
- Press the dough into the pan. Line a 9×13 inch pan with parchment paper. Transfer the dough to the pan and press it down evenly with a spatula. This creates a uniform base that will support the ganache layer.
- Chill the base. Place the pan in the refrigerator for 15 minutes to firm up the dough. A chilled base ensures that the ganache will set properly without sinking.
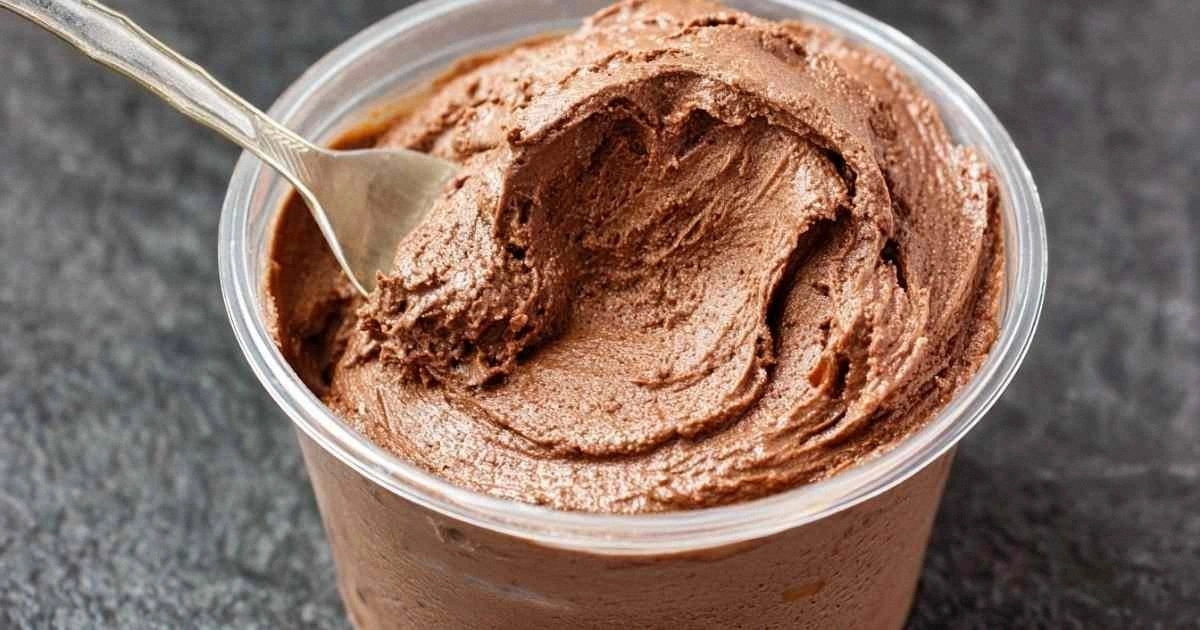
- Make the coffee ganache. In a small saucepan, heat the brewed coffee until it reaches a gentle simmer. Remove from heat and stir in the chocolate chips until fully melted. The ganache should be glossy and pourable but not too runny.
- Pour the ganache over the base. Carefully pour the warm ganache onto the chilled dough, spreading it evenly with a spatula. The ganache will seep into the crumb, creating a luscious, coffee‑infused center.
- Add the final touch. Sprinkle the chopped walnuts over the ganache while it’s still warm. This allows the nuts to lightly toast in the residual heat, adding a subtle crunch.
- Set the slice. Return the pan to the refrigerator and let the slice set for at least 30 minutes, or until firm. A properly set slice will hold its shape when sliced, giving each portion a clean edge.
- Serve and enjoy. Use a sharp knife to cut the slice into squares. The edges will pull away cleanly, revealing the glossy chocolate glaze and the buttery crumb beneath.
That's it — you did it. But hold on, I've got a few more tricks that'll take this to another level...
Insider Tricks for Flawless Results
The Temperature Rule Nobody Follows
The key to a silky ganache is to keep the coffee at a gentle simmer, never a full boil. A rolling boil will evaporate the milk, leaving the ganache too thick and making it difficult to spread. Use a thermometer; aim for 70–75°C, and keep the heat low.
Why Your Nose Knows Best
Before adding the chocolate chips, give the coffee a sniff. If it smells too bitter, add a splash of milk to mellow it out. Your nose will guide you to the perfect balance between coffee intensity and chocolate sweetness.
The 5-Minute Rest That Changes Everything
After pouring the ganache, let the slice sit for 5 minutes before refrigerating. This short rest allows the ganache to settle and reduces the risk of cracks forming when it sets. I’ve seen slices with a perfect glossy finish thanks to this simple pause.
The Crumb’s Secret Companion
Adding a pinch of sea salt to the dry mix gives the slice a subtle contrast that enhances the chocolate. The salt crystals dissolve into the ganache, creating a micro‑burst of flavor in each bite. A tiny amount is all you need.
The Quick Chill Trick
If you’re short on time, place the pan on a chilled plate before refrigerating. The cold plate accelerates the setting process, allowing the slice to firm up in as little as 20 minutes.
Creative Twists and Variations
This recipe is a playground. Here are some of my favorite ways to switch things up:
Nutty Crunch Variation
Swap the walnuts for a mix of pecans and hazelnuts. The nutty flavors complement the coffee, adding a satisfying crunch that contrasts the silky ganache. Serve with a dusting of cocoa powder for a sophisticated look.
Caramel Swirl Delight
After pouring the ganache, drizzle a thin ribbon of caramel sauce over the top. The caramel adds a sweet, buttery note that pairs beautifully with the coffee. Let the caramel set before slicing for a neat swirl.
Minty Fresh Twist
Add a teaspoon of peppermint extract to the ganache for a minty undertone. The cool mint balances the richness of the chocolate, making it a refreshing dessert for summer gatherings.
Almond Butter Upgrade
Replace the butter with almond butter for a nutty base. The almond butter infuses the crumb with a subtle almond flavor that pairs well with the coffee. This variation is great for those who prefer a slightly healthier option.
Dark Chocolate Explosion
Use 100% dark chocolate chips instead of semi‑sweet. The intense chocolate flavor creates a bold contrast with the coffee, turning the slice into a decadent treat for serious chocolate lovers.
Storing and Bringing It Back to Life
Fridge Storage
Store the slice in an airtight container at room temperature for up to 4 days. The airtight seal prevents the crumb from drying out and keeps the ganache from absorbing odors. If you want a slightly firmer slice, keep it in the fridge for up to a week.
Freezer Friendly
Wrap the slice tightly in plastic wrap, then place it in a freezer bag. It will stay fresh for up to 3 months. When ready to serve, let it thaw at room temperature for 30 minutes before slicing.
Best Reheating Method
If the slice has become too firm, warm it gently in the microwave on a low setting for 10–15 seconds. Add a tiny splash of water before reheating; it steams back to perfection, restoring the glossy ganache and soft crumb.