I was standing in the kitchen, staring at a tray of over‑baked cupcakes that had turned into a sad, crumbly mess, when a friend texted, “Got any quick dessert ideas?” The moment felt like a culinary cliffhanger, a promise of something sweet that would rescue my afternoon. I opened the pantry, grabbed the ingredients that would later sing in perfect harmony, and decided this would be the day I turned a kitchen disaster into a triumph. The air filled with the scent of butter and vanilla, the sound of a whisk slicing through silence, and the anticipation that would soon translate into a mouth‑watering experience.
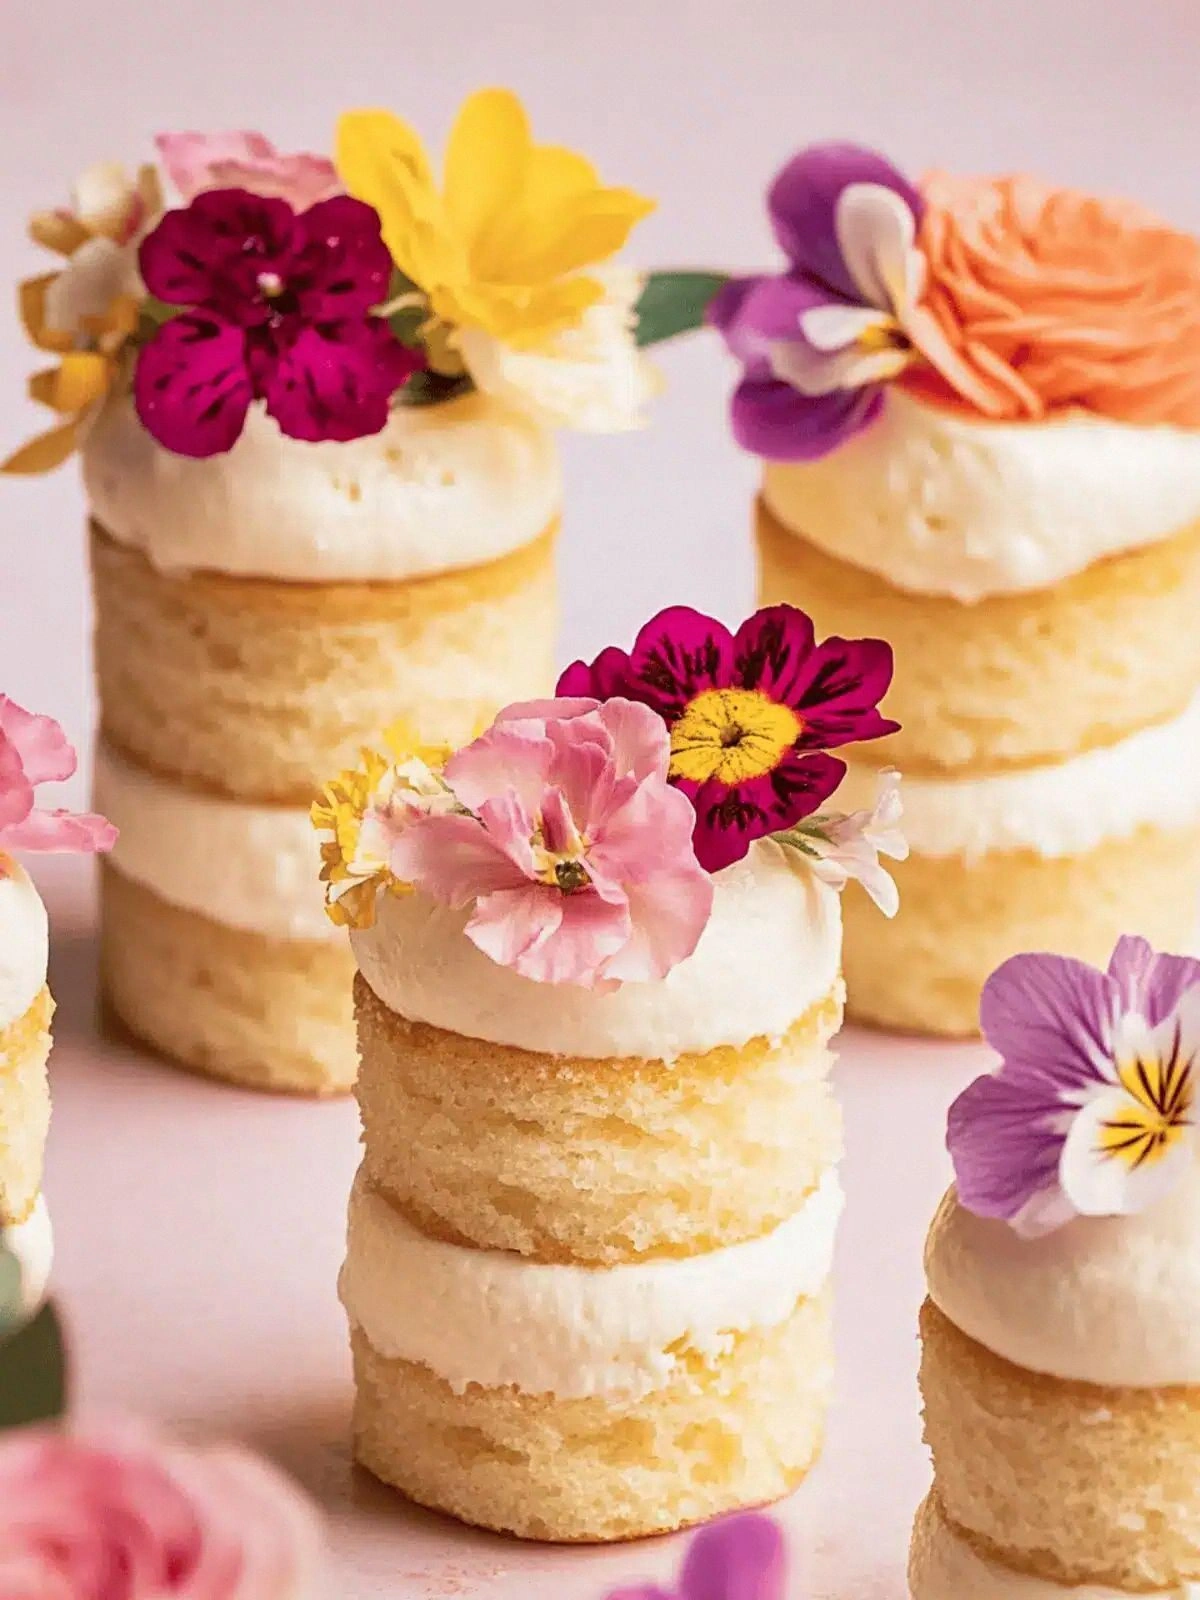
Picture this: a glossy, golden crumb that rises like a puff of cloud, a moist interior that melts on the tongue, and a light, airy texture that feels like a cloud in a cup. The first bite releases a burst of buttery sweetness, followed by a gentle, almost floral hint of vanilla, and ends with a whisper of cocoa from the chocolate shavings. The texture is a dance between softness and a slight, satisfying snap from the sprinkles that crackle under the tongue. The aroma is comforting, reminiscent of a Sunday morning baking session, but with a modern twist that feels fresh and indulgent. Every element is carefully balanced so that no single flavor overpowers the others, creating a harmonious symphony of taste.
What makes this version stand out? It’s not just the recipe; it’s the philosophy behind it. I’m talking about a method that takes the guesswork out of baking, a technique that guarantees a tender crumb, and a flavor profile that will have your guests begging for the recipe. The secret sauce? A surprisingly simple tweak that turns ordinary mini cakes into showstoppers, and it’s something you won’t find in your typical bake‑by‑book. This isn’t about a fancy garnish; it’s about how every element works together to deliver a dessert that feels both luxurious and approachable. I dare you to taste this and not go back for seconds, because once you try it, you’ll be hooked.
I’ll be honest—when I first baked these, I ate half the batch before anyone else even got a taste. The texture was so perfect it seemed like a miracle, and the flavor profile was so rich yet balanced that it felt like a revelation. Picture yourself pulling these out of the oven, the kitchen filling with an irresistible aroma that makes everyone pause and smile. That scent alone is a promise of something truly special. If you've ever struggled with baking mini cakes that come out dense or uneven, you’re not alone—and I’ve got the fix that will change your baking game forever.
What Makes This Version Stand Out
- Taste: The blend of butter, vanilla, and a hint of chocolate creates a flavor profile that feels both indulgent and balanced. This isn’t a one‑dimensional sweetness; it’s a layered experience that lingers on the palate. The subtle crunch of sprinkles adds a textural contrast that keeps each bite interesting.
- Texture: The batter’s composition results in a tender crumb that’s moist yet firm enough to hold its shape. The lightness comes from the whipped buttercream, which acts as a natural lift, preventing the cakes from becoming heavy. The final product feels like a cloud that melts in your mouth.
- Simplicity: All steps are straightforward, with no complicated techniques or specialized equipment. You can bake these in a standard oven using a simple muffin tin. Even beginners will feel confident and in control.
- Uniqueness: The addition of canola oil and a small amount of milk creates a moisture balance that sets these cakes apart from traditional recipes. The oil keeps the cakes from drying out, while the milk adds a subtle richness.
- Crowd Reaction: These mini cakes are guaranteed to be the talk of any gathering. Friends and family will comment on how light and airy they are, and they’ll ask for the recipe right away. The presentation alone is a conversation starter.
- Ingredient Quality: Using high‑quality butter, pure vanilla, and fresh fruit ensures that every bite is bursting with flavor. The buttercream’s quality also elevates the overall taste experience.
- Make‑Ahead Potential: You can bake the cakes a day in advance and store them in the fridge or freezer. The batter’s stability means they retain moisture and flavor even when reheated.
Alright, let’s break down exactly what goes into this masterpiece…
Inside the Ingredient List
The Flavor Base
The foundation of these mini cakes starts with all‑purpose flour, which provides structure and a neutral canvas for the flavors to shine. Flour also absorbs the butter and oil, creating a smooth batter that’s easy to pour. If you skip the flour, the cakes will fall apart and lose their shape, resulting in a mushy mess. A tip: sift the flour with the baking powder to ensure an even distribution of leavening agents.
Baking powder is the unsung hero that lifts the batter, giving the cakes their signature rise. It reacts with the acidic components in the batter, releasing carbon dioxide that creates tiny air pockets. Without it, the cakes would be flat and dense. If you’re looking for a gluten‑free alternative, you can use a blend of rice flour and a pinch of xanthan gum.
The Texture Crew
Unsalted butter is the backbone of flavor, bringing a rich, creamy undertone that complements the vanilla. The butter also helps create a tender crumb by coating the flour particles. Using room‑temperature butter ensures a smooth mix, preventing lumps. A handy trick: chill the butter before cutting it into the flour to keep the batter from becoming too liquid.
Granulated sugar not only sweetens the batter but also contributes to the cake’s texture by dissolving into the fat. It creates a finer crumb and helps with caramelization on the surface. If you prefer a slightly healthier version, you can substitute half the sugar with honey or maple syrup, but adjust the liquid accordingly.
The Unexpected Star
Canola oil is the secret to keeping these mini cakes moist without adding extra butter flavor. Oil also helps keep the batter from sticking to the pan, making the removal of the cakes effortless. If you’re allergic to canola, you can replace it with a neutral‑flavored oil such as grapeseed or sunflower. The oil’s lightness ensures the cakes stay airy.
Eggs are the glue that holds everything together while also providing structure. They contribute to the rise and give the cakes a slightly chewy texture. If you’re vegan, a flaxseed “egg” can be used, but the texture will differ slightly.
The Final Flourish
Milk adds a splash of moisture that balances the dry ingredients, ensuring a tender crumb. It also helps activate the baking powder, boosting the rise. If you’re lactose intolerant, oat milk or almond milk will work, but the flavor profile will shift subtly. A quick tip: use whole milk for richer cakes, or skim milk for a lighter version.
Vanilla extract is the aromatic glue that ties all flavors together. Pure vanilla brings depth, while imitation vanilla can feel flat. The recommended 2 teaspoons ensures a strong but not overpowering vanilla presence. If you’re a fan of vanilla bean, you can split a bean and scrape the seeds into the batter for an even more authentic scent.
Everything’s prepped? Good. Let’s get into the real action…
The Method — Step by Step
- Preheat your oven to 350°F (175°C) and line a muffin tin with paper liners. This step ensures even baking and prevents sticking. The oven should be fully preheated to avoid a sudden temperature drop that can affect rise. While the oven heats, gather all ingredients for easy access.
- In a large bowl, whisk together the flour, baking powder, and kosher salt. Sifting the dry ingredients together creates an airy batter and removes any lumps. This is the foundation for a light crumb. Keep this mixture aside while you prepare the wet ingredients.
- Beat the butter and sugar together until pale and fluffy, about 3–4 minutes. The goal is to incorporate air, which helps the cakes rise. The texture should resemble a smooth, creamy mousse. If the mixture is too dense, continue beating until light.
- Add the eggs one at a time, beating well after each addition. The eggs bind the batter and create structure. Ensure each egg is fully incorporated before adding the next to avoid curdling. This step is crucial for a tender crumb.
- Stir in the vanilla extract, canola oil, and milk until the mixture is smooth. The oil keeps the batter moist, while the milk adds a touch of richness. Be careful not to overmix, as this can develop gluten and make the cakes tough.
- Fold in the dry ingredients until just combined. The batter should be thick yet pourable. Overmixing can lead to a dense texture. The batter should look glossy and smooth, ready for the next step.
- Fill each muffin cup about three‑quarters full with the batter, leaving space for the cakes to rise. This ensures even baking and prevents overflow. The cakes should be evenly distributed for a uniform look.
- Bake for 18–22 minutes, or until a toothpick inserted in the center comes out clean. The cakes should be golden brown on top and slightly firm to the touch. Watch for the edges pulling away from the paper liners; that’s a sign they’re done.
- Remove the cakes from the oven and let them cool in the tin for 5 minutes before transferring them to a wire rack to cool completely. This step prevents condensation from forming on the bottom of the cakes. Cooling also allows the buttercream to set properly.
- Once cooled, spread a generous layer of whipped vanilla buttercream on top of each cake. The buttercream adds a sweet, creamy contrast to the airy cake. Use a spatula or piping bag for a polished look.
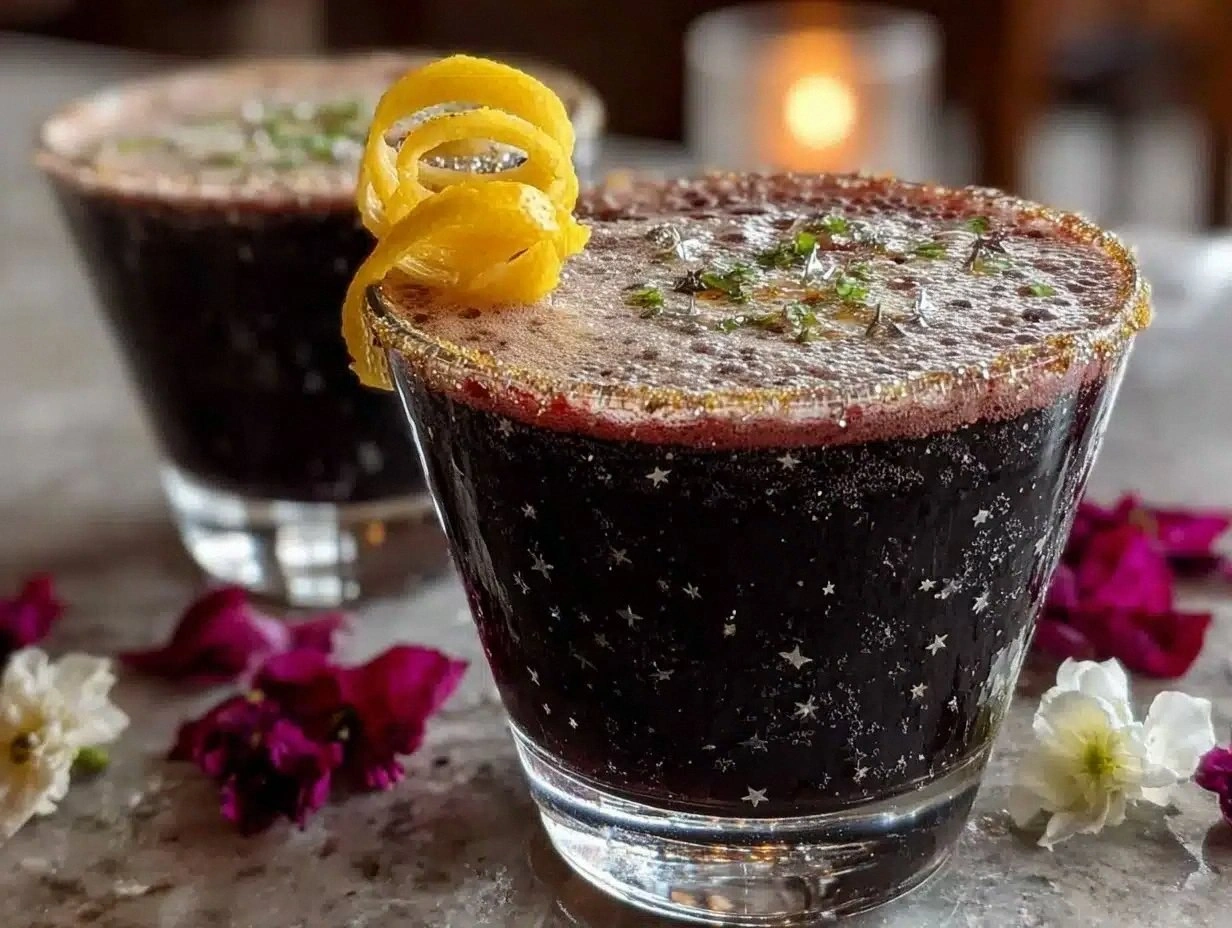
- Top each cake with fresh fruit, chocolate shavings, and a sprinkle of colorful sprinkles. The fruit adds a burst of freshness, while the chocolate shavings provide a subtle bitterness that balances the sweetness. The sprinkles add a playful crunch.
That’s it — you did it. But hold on, I've got a few more tricks that'll take this to another level…
Insider Tricks for Flawless Results
The Temperature Rule Nobody Follows
Baking at exactly 350°F is essential for a uniform rise. If the oven is too hot, the cakes will brown on the outside while remaining raw inside. If it’s too cool, they won’t rise properly and will be dense. Use an oven thermometer to verify the temperature before baking.
Why Your Nose Knows Best
Smell the batter before baking; it should have a sweet, buttery aroma. If it smells off or has a raw egg scent, the batter might be over‑mixed or the eggs are too cold. Your nose is a reliable indicator of batter readiness.
The 5‑Minute Rest That Changes Everything
Let the batter rest for 5 minutes after mixing. This allows the gluten to relax and the leavening agents to activate fully. Resting also helps the batter thicken slightly, preventing over‑spread during baking.
The Perfect Frosting Ratio
Use 2 cups of whipped vanilla buttercream for 4 servings. If you prefer a thicker frosting, add an extra ½ cup of powdered sugar. This ratio keeps the frosting light and airy, complementing the cake’s texture.
The Secret to Sparkling Sprinkles
Rinse sprinkles before using them. This removes dust and ensures a clean, bright finish. Sprinkle them just before serving to maintain their crunch.
Creative Twists and Variations
This recipe is a playground. Here are some of my favorite ways to switch things up: each twist offers a new flavor dimension that will keep your taste buds excited.
Citrus Burst
Add zest of one orange and a splash of orange juice to the batter. The citrus brightens the flavor profile, creating a lively, refreshing cake. Pair with a citrus‑infused buttercream for an extra zing.
Chocolate Lover’s Dream
Replace vanilla extract with cocoa powder and add melted chocolate chips to the batter. The result is a rich, fudgy cake that pairs beautifully with a chocolate buttercream. Finish with a dusting of cocoa powder for a decadent look.
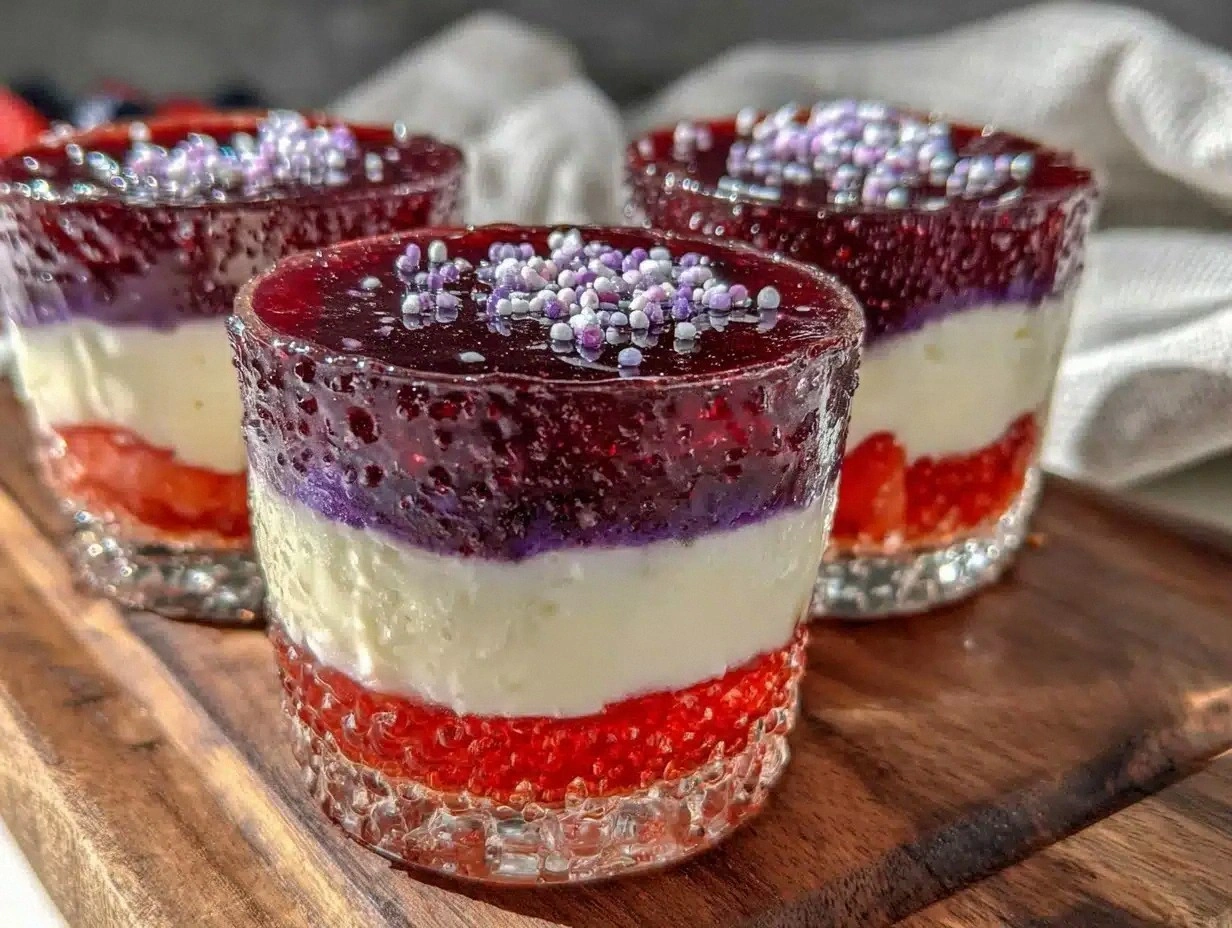
Berry Bliss
Fold in fresh blueberries or raspberries into the batter just before baking. The berries burst with juice, adding moisture and a pop of color. Top with a blueberry compote for a tart contrast.
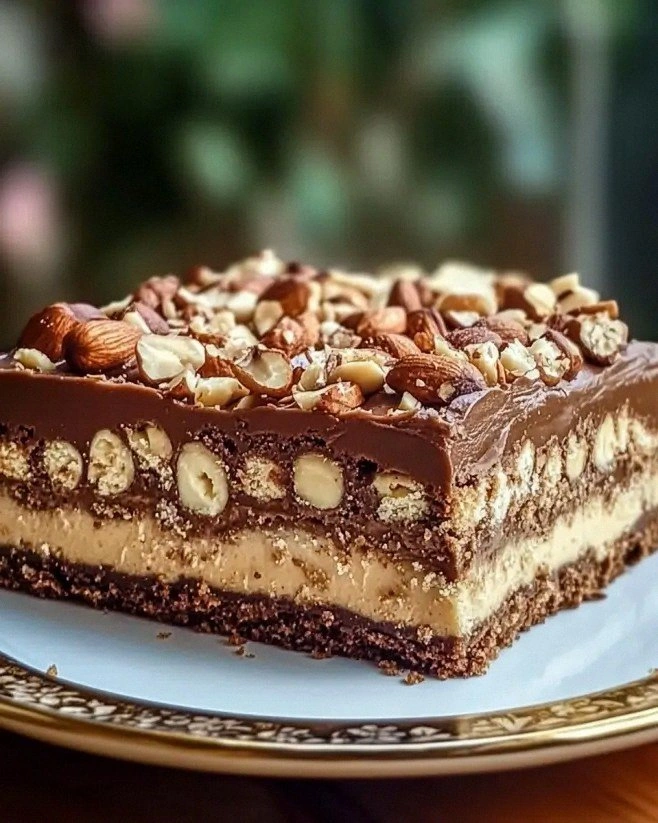
Nutty Crunch
Add chopped toasted almonds or pecans to the batter for a crunchy texture. The nuts also bring a subtle, buttery flavor that complements the cake. Sprinkle extra nuts on top for an added crunch.
Spiced Delight
Incorporate a pinch of cinnamon, nutmeg, and a dash of cayenne pepper. The spices add warmth and depth, creating a cake that feels cozy and comforting. Pair with a chai‑flavored buttercream for a unique twist.
Minty Fresh
Add a tablespoon of peppermint extract to the batter and a handful of crushed mint chocolate chips. The mint provides a refreshing contrast to the sweetness, and the chips add a chocolatey crunch.
Storing and Bringing It Back to Life
Fridge Storage
Store the cooled cakes in an airtight container at room temperature for up to 3 days. The buttercream will stay fresh and the cakes will retain moisture. Cover the top with parchment paper to prevent sticking.
Freezer Friendly
Wrap each cake individually in plastic wrap, then place them in a freezer bag. They can be stored for up to 2 months. Thaw in the refrigerator overnight before serving.
Best Reheating Method
Reheat the cakes in a preheated oven at 300°F for 5 minutes to restore warmth and moisture. Add a tiny splash of water to the bottom of the baking sheet to create steam, which keeps the cakes from drying out. Let them cool slightly before frosting.