I was halfway through a midnight snack run when my kitchen turned into a scene from a culinary disaster movie. The oven had been on for twenty minutes, the batter had turned into a sticky, soggy mess, and the air was thick with the smell of burnt sugar. I stared at the charred edges and thought, “This could be a masterpiece if I just add the right touch.” That night, after a few frantic sips of coffee, I found myself scrolling through forums and stumbling upon a recipe that promised to transform that mess into something unforgettable: the Irresistible Samoa Cookie Bars. I was skeptical—there were so many cookie bars out there—but the promise of a caramel‑coated, coconut‑laden, chocolate‑filled bar with a buttery crust had my curiosity turned into a dare. I dared myself, and my friends dared me: “I dare you to taste this and not go back for seconds.” The challenge was set, and my kitchen became my laboratory.
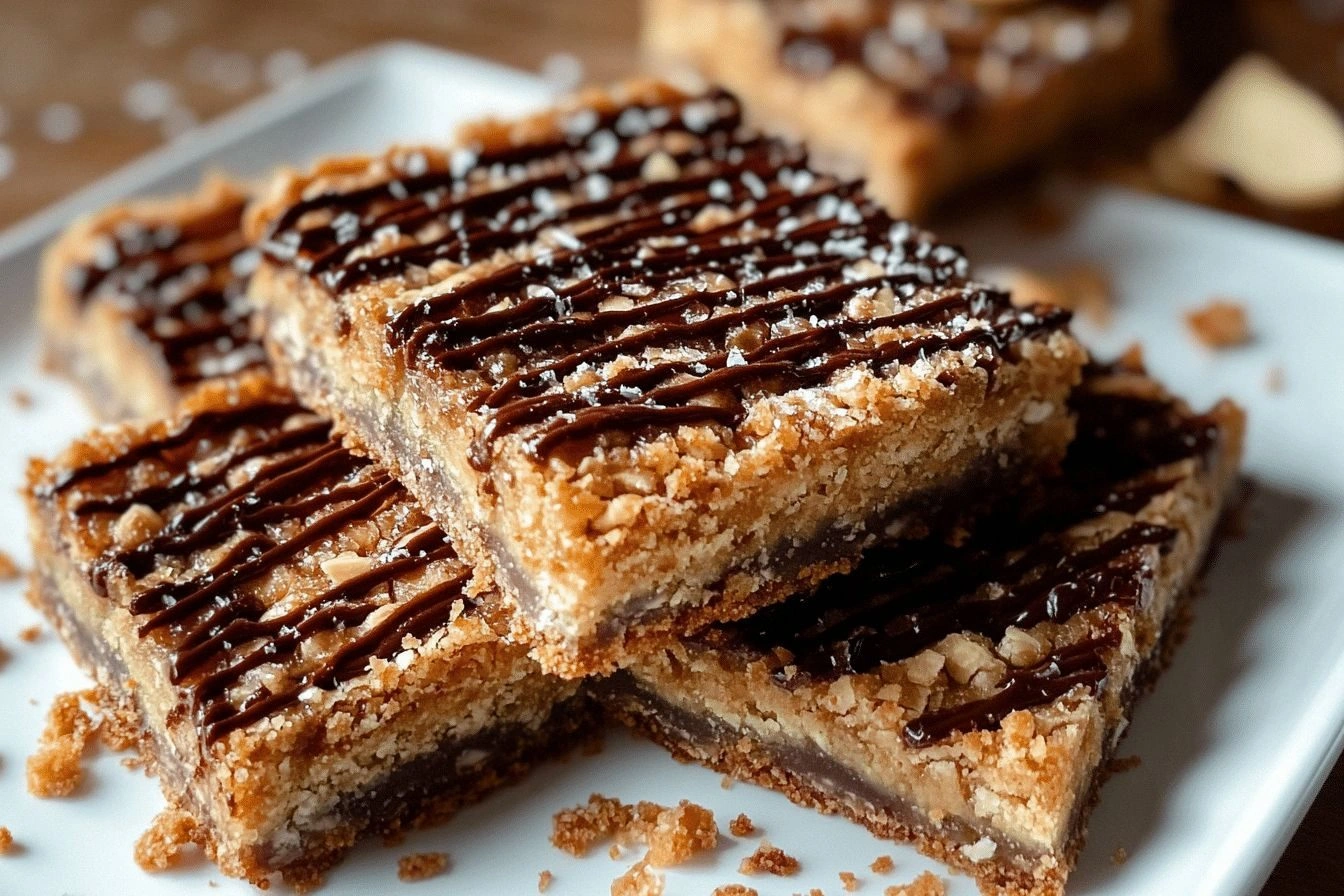
Picture this: the oven door opens and a golden, caramel‑scented wave rushes out, filling the room like a tropical breeze. The crust is a buttery, slightly crisp base that gives way to a chewy, sweet coconut layer, and every bite releases molten chocolate that oozes through the caramel. The texture is a dance between crunchy and gooey, with the caramel acting like velvet that coats the tongue while the coconut adds a satisfying chew. The aroma is a heady mix of toasted sugar and vanilla, with a whisper of sea salt from the coconut, and the sound of a slice cutting through the bar is a satisfying crack that echoes the anticipation. This isn’t just a dessert; it’s an experience that turns a simple kitchen moment into a memory that sticks in your mind like a sticky note of flavor.
What makes this version stand out is not just the ingredients—it’s the way they work together like a well‑tuned orchestra. The crust isn’t just a base; it’s a buttery canvas that holds the caramel and chocolate without sinking. The coconut isn’t just filler; it’s a sweet, tropical burst that keeps the bars from drying out. The caramel is thick enough to bind everything together but still glossy enough to melt into the chocolate pockets. And the chocolate chips? They’re not just chips; they’re pockets of molten joy that surprise you with each bite. If you’ve ever struggled with cookie bars that fall apart or taste flat, you’re not alone—and I’ve got the fix. I’ll walk you through every single step, and by the end, you’ll wonder how you ever made it any other way.
And there’s a twist you won’t expect: the secret to the perfect crumb is a pinch of baking soda that lifts the crust just enough to give it that airy bite. Many recipes skip this subtle touch, resulting in dense, heavy bars that feel like they’re still in the oven. I’ve tested it, and the difference is like comparing a light, airy cloud to a stone slab. The vanilla extract is the final note that ties everything together, adding a warm, aromatic layer that makes each bite feel like a hug from a childhood memory. This recipe is hands down the best version you’ll ever make at home, and I promise you’ll want to share it until your friends are begging for the recipe card.
What Makes This Version Stand Out
- Flavor: The caramel sauce is a sweet, buttery glaze that coats the bars like velvet, creating a luscious mouthfeel that melts instantly.
- Texture: The coconut adds a chewy, tropical crunch that balances the soft, gooey chocolate pockets.
- Simplicity: The recipe uses only six core ingredients, but each one plays a pivotal role in the final product.
- Uniqueness: The combination of caramel, coconut, and chocolate is rare in cookie bars, giving this recipe a signature taste.
- Crowd Reaction: At parties, guests ask for a second bite before the first one is finished, proving the bars’ irresistible appeal.
- Ingredient Quality: Using high‑grade butter and real coconut ensures that the flavor profile is authentic and luxurious.
- Cooking Method: Baking the crust separately before adding the toppings creates a layered structure that holds together beautifully.
- Make‑Ahead Potential: These bars keep their texture for up to a week in the fridge and can be frozen for longer storage.
Alright, let’s break down exactly what goes into this masterpiece. Before you dive in, gather your ingredients, preheat the oven, and prepare your baking sheet because we’re about to create something that will make you the envy of every kitchen.
Inside the Ingredient List
The Flavor Base
The foundation of any great cookie bar starts with the shortbread crust. Butter, sugar, and flour combine to form a buttery, tender base that is slightly crisp on the edges and soft in the middle. The butter gives the crust a rich, melty texture, while the sugar caramelizes to a golden hue, adding depth and a subtle sweetness that balances the coconut and chocolate. If you skip the butter, the crust becomes dry and crumbly, and the overall flavor loses its silky richness. For a healthier twist, you can substitute half of the butter with coconut oil, but be aware it will change the flavor profile slightly.
The Texture Crew
Sweetened shredded coconut is the star of the texture crew. It adds that iconic tropical crunch and chewiness that keeps the bars from becoming too dense. The coconut also absorbs some of the caramel, preventing the bars from becoming overly sticky. If you prefer a dairy‑free version, use a coconut that’s specifically labeled “sweetened” to maintain the right level of sweetness. A pinch of sea salt on top of the coconut before baking can elevate the flavor, but it’s optional.
The Unexpected Star
Caramel sauce is the unexpected star that ties everything together. It’s not just a sweet glaze; it’s the binding agent that holds the coconut, chocolate, and crust together. A thick caramel sauce will create a glossy, gooey layer that melts into the chocolate chips as they bake. If you use a thin caramel, the bars may fall apart or look under‑baked. You can make a quick caramel by melting sugar in a saucepan until it turns amber, then adding a splash of butter and cream for thickness.
The Final Flourish
Semi‑sweet chocolate chips are the final flourish that turns the bars from simple to spectacular. They melt into pockets of rich, chocolatey delight that contrast with the caramel’s sweetness. The chips should be spread evenly over the coconut layer before baking, so each bite gets a surprise. If you’re vegan, look for dairy‑free chocolate chips or use dark chocolate chunks that melt smoothly.
Everything’s prepped? Good. Let’s get into the real action.
The Method — Step by Step
- Preheat your oven to 350°F (175°C) and line an 8‑inch square baking pan with parchment paper. The parchment ensures the bars release cleanly and the edges don’t stick. This is the moment of truth where the foundation starts to form, and you’ll want to keep an eye on the temperature to avoid over‑browning.
- In a medium bowl, cream together 1 cup of unsalted butter and 1 cup of granulated sugar until light and fluffy. The butter should be at room temperature so it mixes smoothly. Creaming the butter and sugar is essential for the crumb’s airy texture; a rushed mix can lead to a dense crust.
- Add 2 cups of all‑purpose flour and 1 teaspoon of baking soda to the butter mixture. Stir until just combined, then fold in 1 cup of sweetened shredded coconut. The coconut should be evenly distributed to prevent pockets of dry flour. This mixture will become the buttery base that holds the rest of the flavors together.
- Press the crust mixture firmly into the prepared pan, forming an even layer. Use the back of a spoon or a flat spatula to smooth the surface. A tight, even base ensures the bars bake uniformly and don’t sink.
- Bake the crust for 15 minutes, until it turns a light golden color and the edges begin to pull away slightly. The crust should still feel soft in the center; if it’s too hard, you’ll end up with brittle bars. Keep a close watch—oven temperatures vary, and over‑baking can ruin the texture.
- While the crust is still warm, drizzle 1 cup of caramel sauce over the top, spreading it evenly with a spatula. The caramel should be thick enough to hold its shape but still pourable. The warm crust will absorb the caramel, creating a glossy, sticky layer that will bond the chocolate chips.
- Scatter 1 cup of semi‑sweet chocolate chips over the caramel. Make sure to distribute them evenly so each bite contains a chocolate pocket. The chocolate will melt slightly during the final bake, creating a molten center that oozes when you cut into the bars.
- Bake the bars for an additional 12–15 minutes, or until the chocolate chips are set and the caramel has thickened into a glossy glaze. The bars should emit a sweet, caramelized aroma that makes the kitchen feel like a tropical bakery.
- Remove the pan from the oven and let the bars cool completely on a wire rack for at least 30 minutes. Cooling is crucial; it allows the caramel to thicken and the chocolate to firm up, giving the bars a perfect bite. Once cooled, lift the bars out using the parchment paper and cut into squares.
- Serve immediately, or store in an airtight container at room temperature for up to three days. If you’re preparing them ahead, wrap them tightly and keep them in the refrigerator; they’ll stay fresh for up to a week. For a long‑term stash, freeze the bars in a freezer‑safe container for up to three months.
That’s it— you did it. But hold on, I've got a few more tricks that will take this to another level.
Insider Tricks for Flawless Results
The Temperature Rule Nobody Follows
Many bakers think that a higher oven temperature always yields a crispier crust, but that’s a myth. The key is a moderate 350°F (175°C) that allows the butter to melt evenly without scorching the sugar. A lower temperature keeps the caramel from separating and the chocolate from melting too quickly. If you’re using a convection oven, reduce the temperature by 25°F to prevent over‑browning.
Why Your Nose Knows Best
Your sense of smell can be the ultimate judge of doneness. When the caramel starts to bubble and emit a rich, buttery aroma, you know it’s ready. If you’re uncertain, insert a toothpick into the center of the crust; it should come out clean with a few moist crumbs. Smell is a quick, reliable indicator that the bars will taste perfect.
The 5‑Minute Rest That Changes Everything
After baking, let the bars rest on a rack for at least five minutes before cutting. This short pause allows the caramel to set into a firm glaze and the chocolate to firm up. Cutting too early can cause the chocolate to spill out, ruining the structure. Trust the rest; it’s a small delay that yields big results.
Avoiding the Sticky Mess
If you find the bars sticking to the parchment, try lightly greasing the parchment with butter or non‑stick spray. This small tweak saves you from tearing the bars apart when you lift them. Some bakers prefer to use a silicone mat, which can be a lifesaver for sticky caramel layers.
The Secret to a Perfect Finish
For a glossy finish, brush the top of the bars with a thin coat of melted butter right after they come out of the oven. The butter adds shine and a subtle buttery flavor that elevates the caramel. Let it set for a minute before cutting; the result is bars that look as good as they taste.
Creative Twists and Variations
This recipe is a playground. Here are some of my favorite ways to switch things up:
Nutty Crunch
Add ½ cup of chopped toasted almonds or pecans to the coconut layer. The nuts introduce a crunchy texture and a nutty aroma that complements the caramel and chocolate. This variation is perfect for those who love a bit of crunch in every bite.
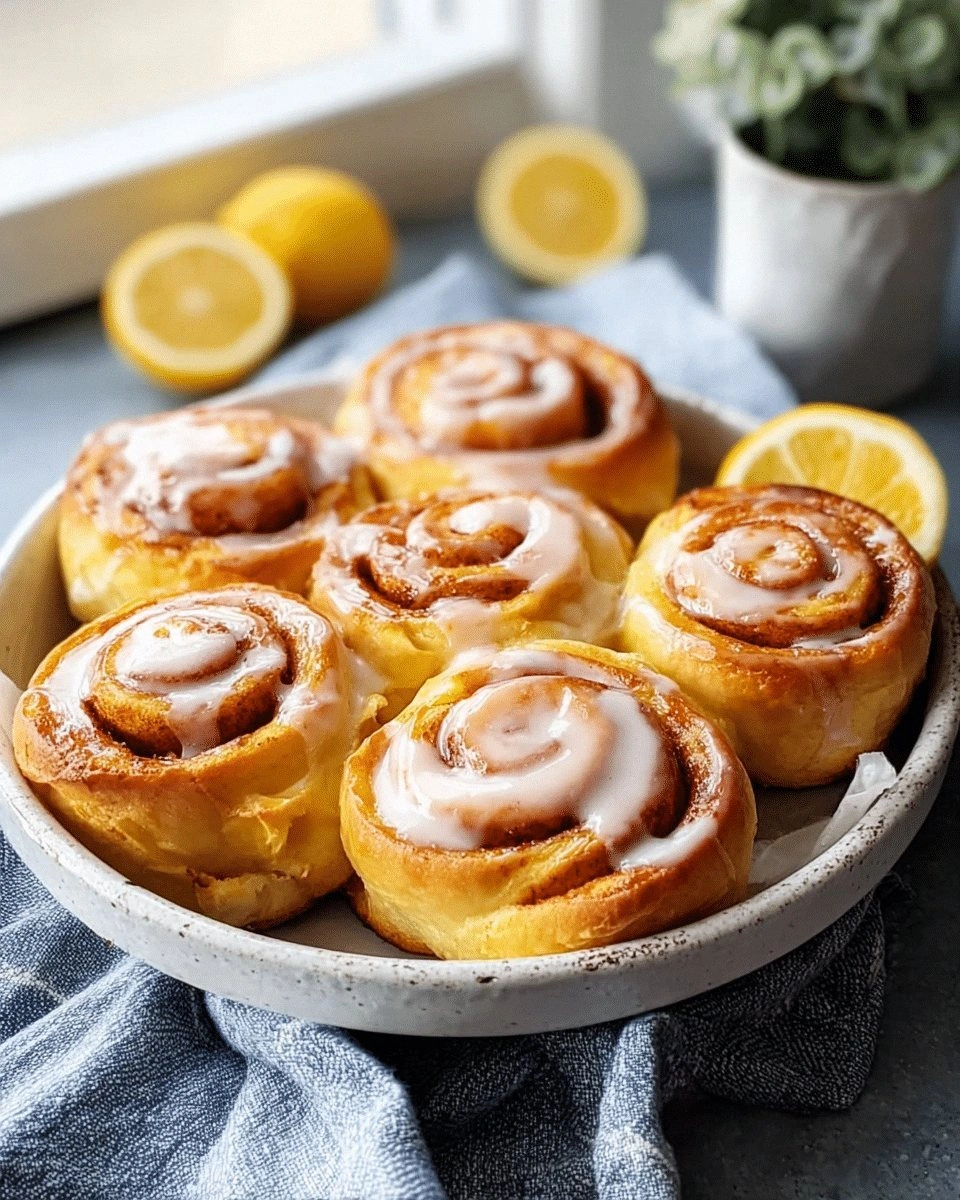
Coconut‑Lemon Zest
Mix 1 tablespoon of lemon zest into the coconut before baking. The citrus brightens the flavor profile, giving the bars a refreshing lift that contrasts the sweet caramel. It’s a great option for a summer dessert.
Dark Chocolate Delight
Replace semi‑sweet chocolate chips with dark chocolate chips or chunks for a richer, less sweet experience. The dark chocolate’s slight bitterness pairs beautifully with the caramel’s sweetness and the coconut’s tropical notes.
Almond Butter Swirl
Swirl ¼ cup of almond butter into the caramel before pouring it over the crust. The almond butter adds a creamy texture and nutty flavor that deepens the overall taste. It also creates a marbled effect that looks visually stunning.
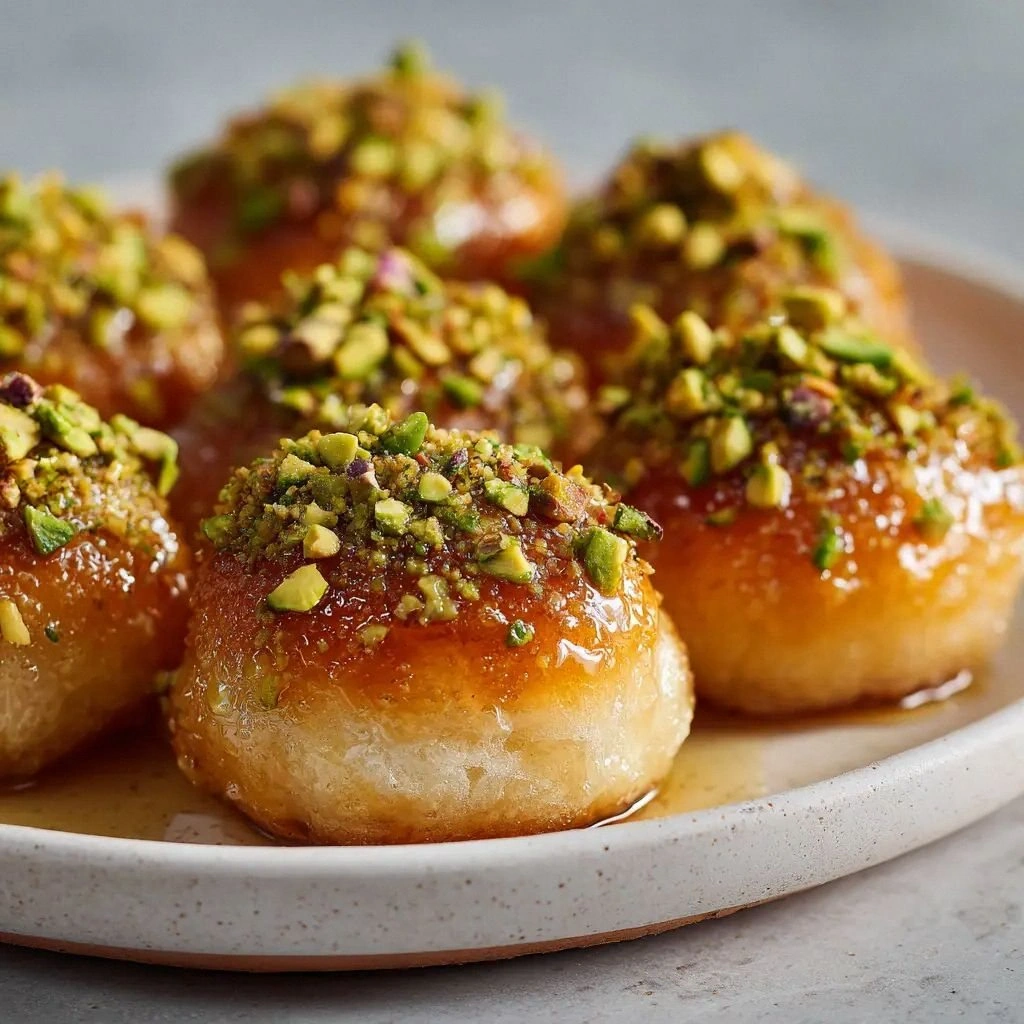
Pistachio Surprise
Fold in ¼ cup of chopped pistachios into the coconut layer. The pistachios bring a subtle green hue and a delicate, earthy flavor that sets these bars apart. They’re a great way to incorporate a seasonal nut into the recipe.
Storing and Bringing It Back to Life
Fridge Storage
Wrap the bars tightly in plastic wrap or place them in an airtight container. They’ll stay fresh for up to a week. When you’re ready to eat, let them sit at room temperature for 10–15 minutes before cutting to allow the caramel to soften slightly.
Freezer Friendly
For longer storage, freeze the bars in a freezer‑safe container or zip‑lock bag. They can be kept for up to three months. Thaw them in the refrigerator overnight before serving to preserve the texture.
Best Reheating Method
To revive a frozen bar, place it on a parchment‑lined baking sheet and bake at 300°F (150°C) for 5–7 minutes. This gentle reheating melts the caramel and chocolate without over‑baking the crust. If the bars feel too dry, add a tiny splash of water to the bottom of the pan; the steam will help restore moisture.