Picture this: a Saturday morning that starts with a burnt toast disaster, a neighbor’s culinary rant, and a sudden craving for something that feels like a hug in a bowl. I was standing over a pan that had already betrayed me three times, when a friend texted, “I made crumpets that melt your heart.” That message turned into a dare—“I dare you to taste this and not go back for seconds.” I didn’t know what a crumpet was until that night, but now I’m about to share the ultimate version that will make you question every other recipe you’ve ever tried. It’s fluffy, airy, and surprisingly simple. The moment the batter hits the hot griddle, the kitchen fills with a sweet, yeasty aroma that feels like a sunrise, and the sound of gentle bubbles popping is the soundtrack to pure anticipation. I can almost hear the sizzle, feel the heat, taste the subtle sweetness, and see the golden crust forming. That’s the moment you know you’re in for something special. Let me walk you through every single step—by the end, you’ll wonder how you ever made it any other way.
The first time I cracked open a packet of yeast, I thought I’d just be making bread. Turns out, that same yeast, when paired with the right balance of flour, water, and a touch of sugar, creates a batter that rises like a cloud and holds that airy texture for hours. I’ve spent countless mornings staring at the kitchen counter, waiting for a batch of crumpets to puff up, only to end up with dense, flat circles that crumble at the slightest touch. That frustration ended the day I discovered this recipe. The secret? A precise blend of all-purpose and gluten-free flour, a dash of baking powder for lift, and a gentle, patient proofing that lets the yeast do its thing. It’s not just a recipe; it’s a revelation. The result is crumpets that look like miniature, golden moons—soft on the inside, crisp on the edges—ready to be toasted, topped, and devoured. And the best part? It’s gluten‑free friendly, dairy‑free, and still tastes like a buttery breakfast classic. The next time you’re craving something warm and comforting, this will be the go-to dish that brightens your mornings and satisfies your cravings.
What makes this version stand out is not just the final product but the journey to get there. I’ve spent years tweaking ratios, swapping flours, and experimenting with proofing times to find the sweet spot that delivers a perfect crumb. I’ve learned that the texture of a crumpet is as much about the batter’s consistency as it is about the heat of the griddle. When the batter is just right, it forms a skin that locks in moisture, giving that coveted “pocket” that fills with butter and jam. I’ve also discovered that a small splash of warm water before adding the yeast activates the flavor without making the batter too runny. The result? A batter that’s thick enough to hold its shape but thin enough to spread evenly across the griddle. That balance is what gives these crumpets their signature lightness. The final touch—using a dairy‑free greasing substitute—keeps the flavor clean and ensures that each crumpet has a crisp, golden edge.
If you’ve ever struggled to get crumpets that rise properly, you’re not alone. Most recipes get this completely wrong, either by overmixing the batter or underproofing the yeast. I’ve seen crumpets that look like pancakes, or worse, like flat, soggy discs that never rise. But here’s what actually works. It starts with the right temperature of water—warm enough to awaken the yeast but not so hot that it kills it. Then, a gentle fold of the flour to preserve the air bubbles that will become the crumpets’ pockets. And finally, a short, hot bake that locks in the moisture while giving you that satisfying crunch. Picture yourself pulling this out of the oven, the whole kitchen smelling incredible, and the first bite revealing a fluffy interior that melts in your mouth. I promise you, this is hands down the best version you’ll ever make at home.
Okay, ready for the game‑changer? Let’s dive into the ingredients that make these crumpets a masterpiece. I’ll walk you through each component, why it matters, and what happens if you skip it. From the yeast that creates the lift to the gluten‑free flour that keeps it inclusive, every ingredient plays a pivotal role. And there’s a twist: the addition of baking powder gives those crumpets a lift that even seasoned bakers will appreciate. Stay with me here—this is worth it.
What Makes This Version Stand Out
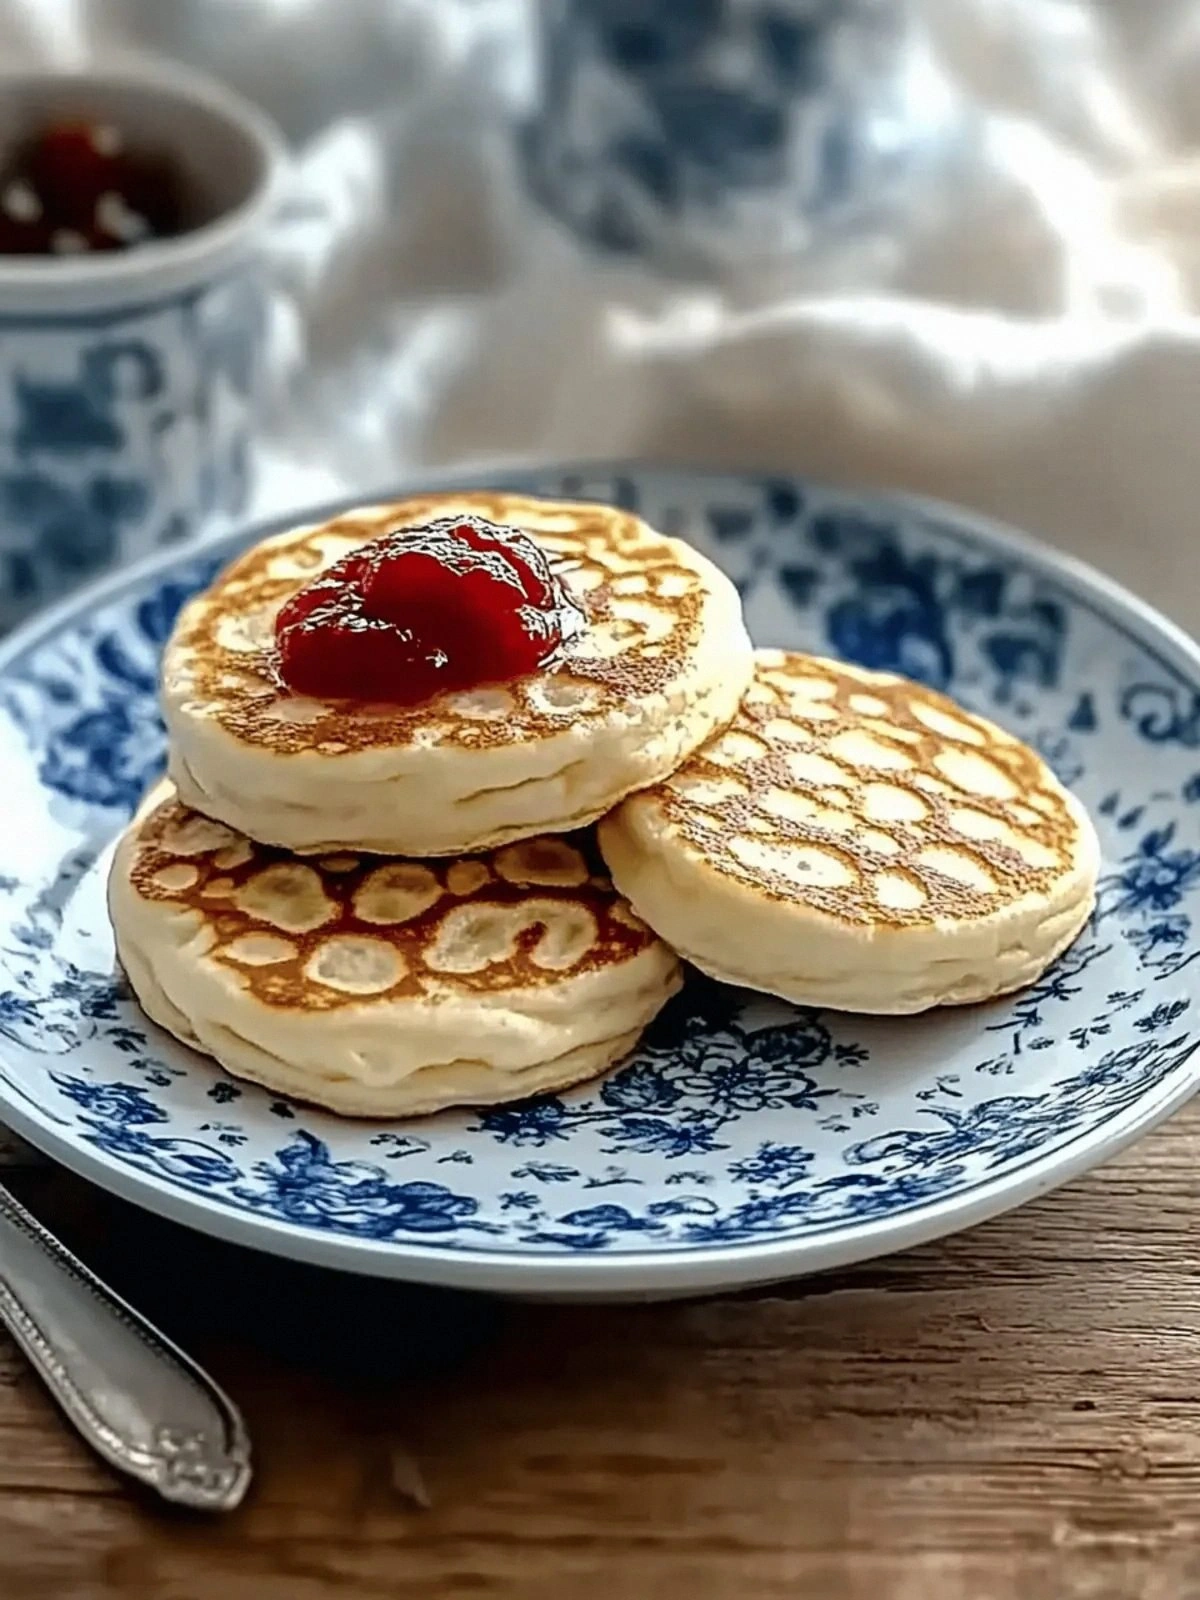
- Texture: The batter’s airy consistency creates pockets that hold butter, jam, or even a drizzle of honey. The result is a light, fluffy interior that contrasts with a crisp exterior.
- Flavor: A touch of sugar and a splash of warm water bring out a subtle sweetness that balances the yeasty undertone.
- Gluten‑Free Friendly: By blending all‑purpose flour with a gluten‑free blend, you get the best of both worlds—structure and softness.
- Ease: The method is straightforward, requiring no fancy equipment—just a griddle and a spatula.
- Make‑Ahead Potential:
- Crowd Reaction: Friends rave about the texture, and family members can’t resist a second bite.
Alright, let's break down exactly what goes into this masterpiece... And here’s a quick kitchen hack to make your life easier.
Inside the Ingredient List
The Yeast Foundation
Active Dry Yeast: This is the secret engine that powers the rise. It ferments the sugars, producing carbon dioxide that creates those signature pockets. If you skip the yeast, you’ll end up with flat, pancake‑like crumpets that lack that airy texture. For a quick fix, you can use instant yeast, but the flavor will be slightly different.
Granulated Sugar: A teaspoon of sugar feeds the yeast, encouraging fermentation and adding a gentle sweetness. It also helps with browning. If you prefer a less sweet version, reduce the sugar to half a teaspoon, but be prepared for a slightly drier crust.
The Flour Blend
All‑Purpose Flour: The backbone of the batter, it provides structure and a familiar crumb. It’s the base that allows the gluten‑free blend to integrate smoothly. If you only have whole wheat flour, the texture will be denser, and the crumpets may not rise as well.
Gluten‑Free Flour Blend: A 2‑cup portion gives the batter the necessary elasticity while keeping it light. Choose a blend that includes xanthan gum for better binding. If you don’t have a ready mix, combine rice flour, potato starch, and a pinch of xanthan gum.
The Leavening Agent
Baking Powder: Two teaspoons of baking powder give the batter an extra lift, ensuring the crumpets puff up quickly on the griddle. Without it, the batter may not rise as much, resulting in a denser crumb. If you’re allergic to baking powder, try baking soda with an acid like lemon juice.
The Liquid Harmony
Warm Water: 1.5 cups of water at around 110°F activates the yeast without scalding it. The temperature is critical; too hot and you’ll kill the yeast, too cool and it won’t activate. A good test is to sprinkle a pinch of yeast on the water—if it bubbles within a minute, you’re good.
The Final Touches
Salt: A teaspoon balances the sweetness and enhances the overall flavor profile. Salt also helps strengthen the gluten network, giving the batter a better structure.
Dairy‑Free Substitute for Greasing: A light dusting of coconut oil or a non‑dairy butter substitute ensures the crumpets don’t stick to the griddle and develop a golden crust. If you prefer a neutral flavor, use a small amount of vegetable oil.
Everything’s prepped? Good. Let’s get into the real action...
The Method — Step by Step
- In a small bowl, combine the warm water, yeast, and sugar. Let it sit for 5 minutes until it becomes frothy. This is the moment of truth—you can see the yeast’s promise in the bubbles. If it doesn’t froth, you might have too hot water or expired yeast.
- In a large mixing bowl, whisk together the all‑purpose flour, gluten‑free blend, baking powder, and salt. The dry mix should feel like a fine, airy powder. This step ensures even distribution of leavening agents.
- Make a well in the center of the dry ingredients and pour in the frothy yeast mixture. Stir with a wooden spoon until a thick batter forms. The batter should be thicker than pancake batter but still pourable. If it’s too thick, add a splash of water.
- Cover the bowl with a clean towel and let the batter rest in a warm spot for 30 minutes. This resting period allows the yeast to work its magic, creating the airy pockets you’ll taste later.
- Preheat a non‑stick griddle or cast‑iron skillet over medium heat. Lightly grease it with a dairy‑free substitute, using a paper towel to spread a thin film. The griddle should be hot enough that a drop of water sizzles instantly.
- Pour about 2 tablespoons of batter onto the griddle for each crumpet. Let it sit for 4–5 minutes. The batter should spread and form a skin on the top. The edges will start pulling away from the pan—this is the sign you’re ready to flip.
- Flip the crumpet with a spatula. Cook for another 3–4 minutes until the underside is golden brown and the top is set. The sizzle when it hits the pan? Absolute perfection.
- Repeat with the remaining batter, greasing the griddle as needed. Keep the cooked crumpets warm in a low oven (200°F) while you finish the batch.
- Serve immediately with your favorite toppings—classic butter and jam, or a modern twist like avocado and smoked salmon.
That’s it—you did it. But hold on, I’ve got a few more tricks that will take this to another level. These insider tips will help you perfect the texture and flavor every single time.
Insider Tricks for Flawless Results
The Temperature Rule Nobody Follows
Griddle temperature matters. Too hot, and the batter will brown too quickly on the outside, leaving a raw center. Too cool, and you’ll lose that signature rise. Aim for 350°F (175°C). Use a kitchen thermometer or a drop test: a single drop of batter should sizzle and spread in about 5 seconds.
Why Your Nose Knows Best
Smell the batter. If it smells yeasty and slightly sweet, it’s ready. A sour or metallic smell indicates the yeast is over‑active or the water was too hot. Trust your nose—kitchen intuition is a powerful tool.
The 5‑Minute Rest That Changes Everything
Let the batter rest. A 30‑minute rest allows the gluten to relax and the yeast to produce carbon dioxide. Skipping this step often results in flat crumpets. If you’re short on time, a 15‑minute rest can still yield good results, but the texture may not be as airy.
The Light Touch of Oil
Grease lightly. A thin film of oil or non‑dairy butter substitute ensures a crisp crust. Too much grease can make the crumpets oily. Use a paper towel to spread a thin layer, and wipe off any excess before pouring the batter.
The Quick Flip Trick
Flip at the right moment. When the edges start pulling away from the pan and the top has a set skin, flip. If you wait too long, the batter will over‑spread and become uneven. A quick flip keeps the shape and ensures even cooking.
Creative Twists and Variations
This recipe is a playground. Here are some of my favorite ways to switch things up:
Cinnamon Sugar Crumpets
Add a tablespoon of ground cinnamon and a tablespoon of sugar to the dry mix. The result is a warm, spiced flavor that pairs perfectly with a drizzle of maple syrup.
Savory Herb Crumpets
Stir in a tablespoon of dried thyme and a pinch of smoked paprika. Serve with a dollop of herbed cream cheese and a sprinkle of fresh chives.
Chocolate Chip Crumpets
Fold in a handful of dairy‑free chocolate chips after the first flip. The chips melt slightly, giving a gooey, chocolatey center that’s irresistible.
Lemon Poppy‑Seed Crumpets
Add a teaspoon of poppy seeds and the zest of one lemon to the batter. The bright citrus note brightens the crumb, and the seeds add a subtle crunch.
Berry‑Infused Crumpets
Swirl in a handful of fresh blueberries or raspberries just before the final flip. The berries burst into a sweet, tart burst of flavor that complements the airy texture.
Storing and Bringing It Back to Life
Fridge Storage
Keep them in an airtight container. Store up to 3 days in the fridge. The crumpets will stay soft, and the pockets will retain moisture.
Freezer Friendly
Wrap tightly in foil and place in a freezer bag. They can be frozen for up to 2 weeks. Thaw at room temperature for 30 minutes before reheating.
Best Reheating Method
Warm them in a skillet. Add a splash of water to the pan, cover, and heat for 2 minutes. The steam will revive the pockets and give a fresh, toasty aroma.