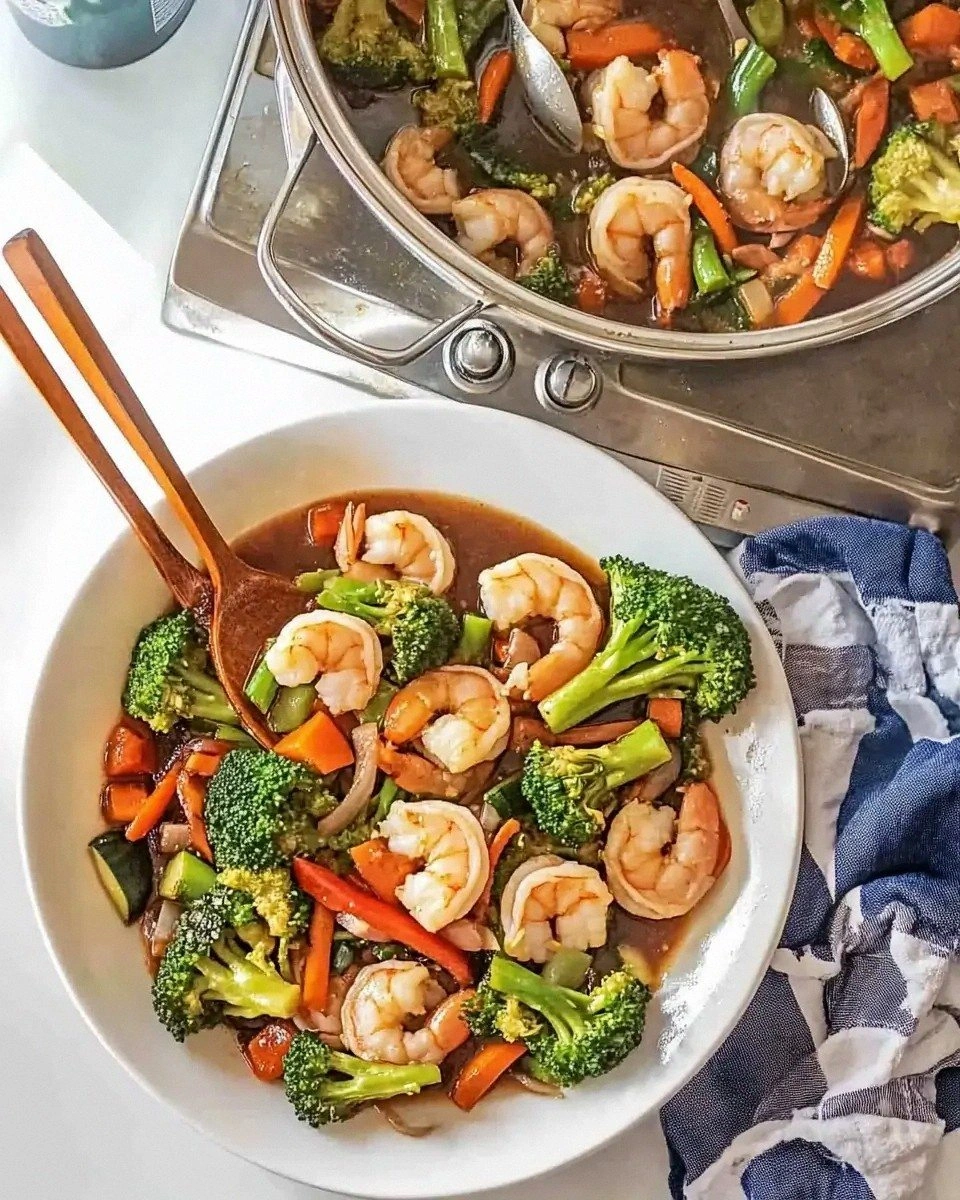
I was standing in the kitchen, eyes wide, watching my friend's attempt to recreate a restaurant‑grade tempura chicken that had left a mark on my taste buds. The pan hissed, the batter fizzed, and the chicken emerged soggy, a sad, limp mess that tasted like a soggy pancake. I laughed, then cursed, and that moment turned into a dare: I’d show them how to make the lightest, crispiest Japanese chicken that would have them begging for seconds.
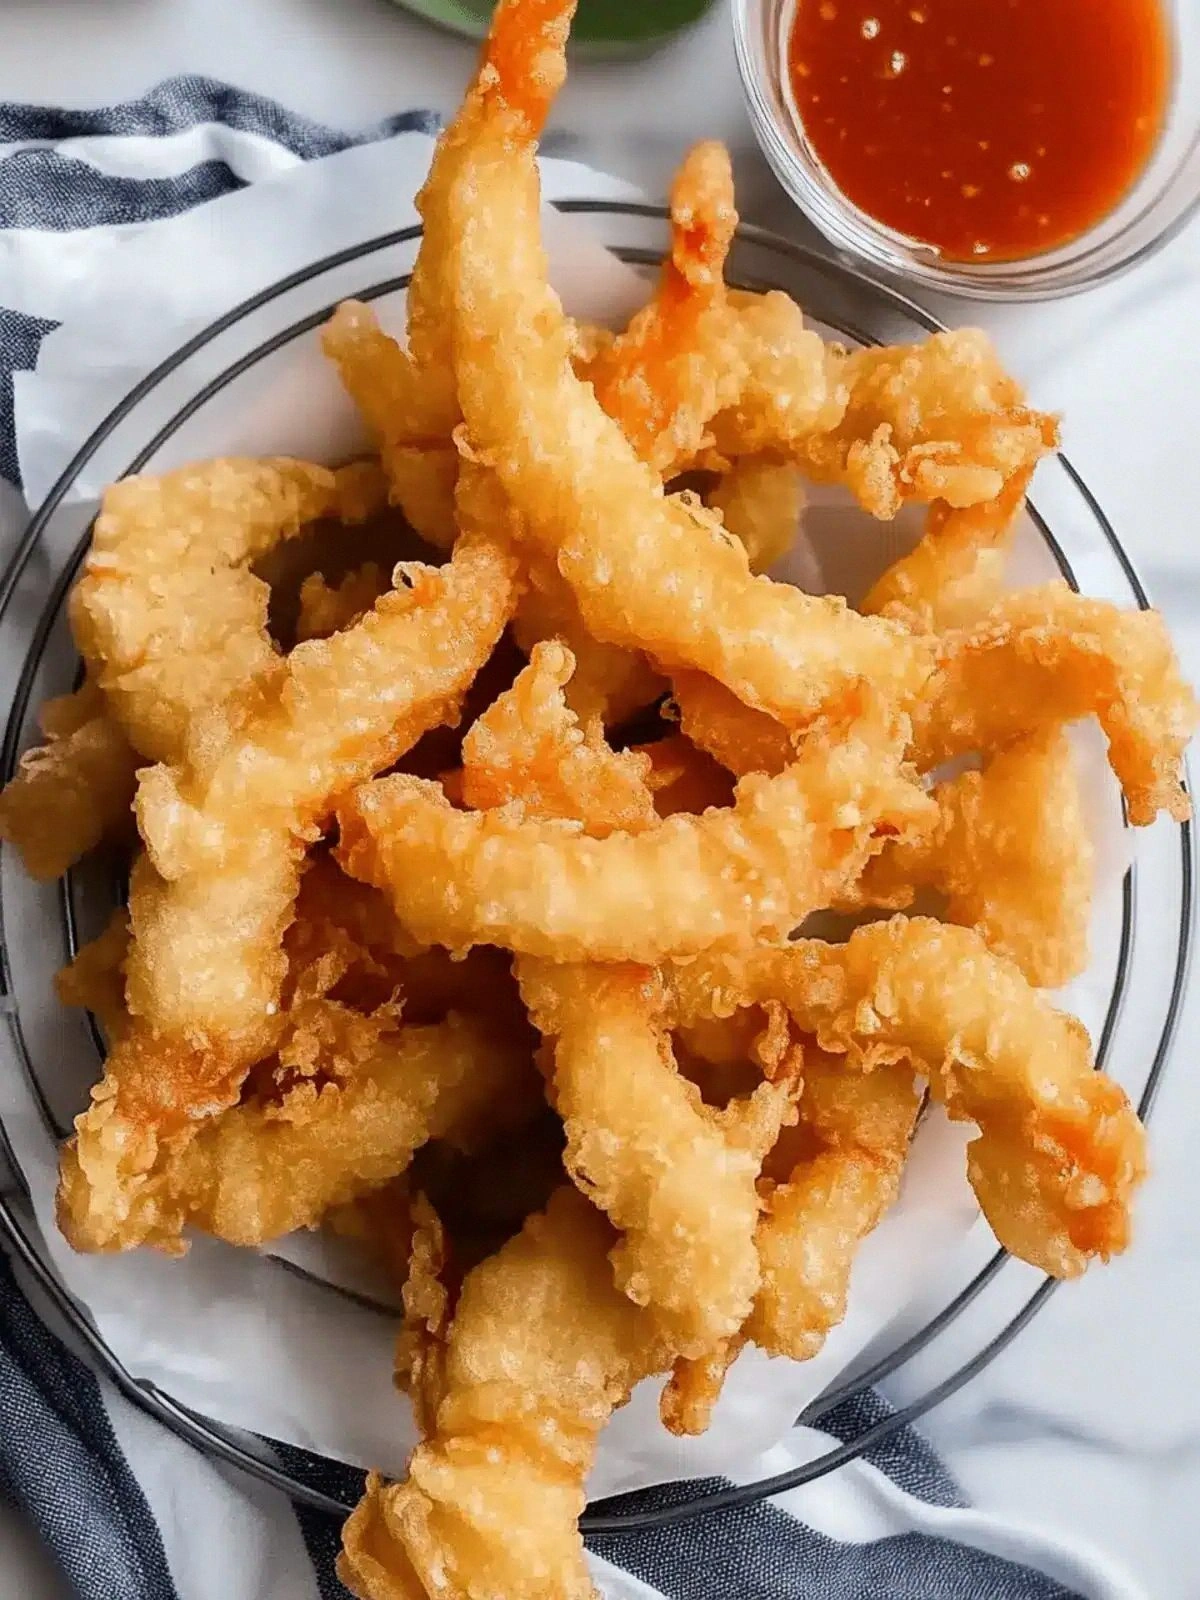
Picture this: a golden, airy shell that crackles like freshly fallen snow as you bite into juicy, tender chicken. The aroma is a subtle blend of toasted flour and a whisper of citrus, the kind that makes the whole kitchen feel like a Japanese summer market. The first bite is a dance of crunch and melt, followed by a gentle citrus lift from lemon wedges that brightens the palate. The texture is so delicate it almost dissolves, yet the edges stay crisp enough to satisfy the crunch‑connoisseur in everyone. That’s the promise of this recipe.
What sets this version apart is a secret technique I learned from a master chef in Kyoto who taught me that the key to a light tempura is the batter’s temperature and the chicken’s moisture content. I’ve tweaked the batter to be a 50/50 blend of flour and cornstarch, then added a pinch of baking powder to lift it. The chicken is first marinated in a simple mixture of soy sauce, ginger, and a splash of rice vinegar to tenderize and season, then patted dry to ensure the batter sticks but doesn’t soak in. The result? A crisp, airy coating that’s almost invisible, letting the natural flavor of the chicken shine through.
You might think the batter is the star, but the real magic happens when you fry at the right temperature. I’ve discovered that using a thermometer to keep the oil at exactly 350°F (175°C) gives the best balance between a quick, golden crust and a tender interior. If you go too hot, the coating turns dark and the chicken dries out; too cool, and the batter becomes greasy. This simple adjustment turns a kitchen mishap into a culinary triumph.
Let me walk you through every single step — by the end, you’ll wonder how you ever made it any other way. I’ll keep the instructions clear, sprinkle in a few humor nuggets, and share the micro‑challenges that will push your cooking skills to the next level. If you’ve ever struggled to get that perfect tempura, you’re not alone, and I’ve got the fix.
What Makes This Version Stand Out
- Taste: The batter is so light it’s almost invisible, letting the chicken’s natural umami shine. The subtle citrus from the lemon wedges gives a bright, fresh finish that cuts through the richness. The dip of tempura sauce adds a sweet‑savory depth that’s a nod to Japanese street food.
- Texture: The coating is crisp on the outside and airy inside, creating a delightful contrast. Each bite shatters like thin ice, revealing tender, juicy meat. The result feels almost like a cloud of flavor.
- Simplicity: You only need a handful of pantry staples. No need for specialty flours or exotic seasonings. The recipe is a no‑fuss, all‑in‑one‑pot affair.
- Uniqueness: The use of cornstarch in the batter creates an extra lightness that’s rarely found in standard tempura recipes. The subtle ginger‑rice‑vinegar marination gives a depth of flavor that sets this apart.
- Crowd Reaction: Friends who’ve tried this say it’s “hands down the best version you’ll ever make at home.” The dish is a conversation starter at any gathering.
- Ingredient Quality: Fresh, high‑quality chicken breast and good‑grade all‑purpose flour are key. The quality of the oil also affects crispness.
- Cooking Method: The precise oil temperature and quick frying time keep the batter light and the chicken juicy.
- Make‑Ahead Potential: The batter can be prepared a day ahead, chilled, and fried fresh when needed. The chicken can be marinated overnight for extra flavor.
Alright, let's break down exactly what goes into this masterpiece...
Inside the Ingredient List
The Flavor Base
The soy sauce, ginger, and rice vinegar blend is the secret behind the chicken’s tender, savory core. The acid from the vinegar breaks down the muscle fibers, resulting in a melt‑in‑your‑mouth texture. Without this marination, the chicken would be dry and bland, and the batter would have nothing to cling to. If you skip the ginger, you lose the subtle warmth that balances the citrus.
I recommend using a high‑quality soy sauce, like a tamari or a low‑sodium option if you’re watching salt. The vinegar should be rice vinegar; it’s milder and sweeter than white vinegar, preventing an overpowering sharpness. The ginger is grated fresh, providing a bright, peppery bite that cuts through the richness of the oil.
Swap the ginger for a pinch of crushed garlic if you prefer a different aromatic profile. However, the ginger’s subtle heat is integral to the dish’s authenticity. If you’re on a gluten‑free diet, use tamari instead of regular soy sauce to keep the flavor profile intact.
Buying tip: Look for chicken breast that’s firm and has a consistent pink color. Avoid any with a watery texture or off‑odor. Freshness is key to achieving the best bite.
Everything's prepped? Good. Let's get into the real action...
The Texture Crew
The batter is the star of the show, and it’s a delicate balance of flour, cornstarch, baking powder, salt, egg, and ice‑cold water. The flour provides structure, the cornstarch adds lightness, and the baking powder gives a subtle lift. The ice‑cold water keeps the batter cold, preventing gluten development and ensuring a crisp texture.
The egg is the binder that holds everything together. A single large egg is enough to coat the chicken without making the batter too heavy. If you prefer a vegan version, substitute with a flaxseed or chia egg, but note that the texture will change slightly.
The 1/2 teaspoon of baking powder is a small but mighty component. It reacts with the acidic vinegar in the marination, creating tiny bubbles that lift the batter as it fries. If you skip it, the coating will be denser and less airy.
Tip: Keep the batter cold by adding the water last and mixing just enough to combine. Over‑mixing can lead to a tough crust.
The Unexpected Star
The grated daikon radish isn’t just a garnish; it adds a subtle crunch and a mild peppery flavor that complements the chicken. Daikon’s mildness allows it to be a palate cleanser between bites, keeping the dish from becoming too heavy. If you can’t find daikon, try grated cucumber or shredded carrots as a substitute.
The lemon wedges provide a bright, acidic counterpoint to the rich batter. They’re meant to be squeezed into each bite, adding a fresh, zesty note that lifts the entire dish. If you’re allergic to citrus, a splash of lime or a dash of yuzu can work.
The tempura dipping sauce is a blend of soy sauce, mirin, and dashi, giving a sweet‑savory umami punch. It’s the traditional accompaniment that brings all the flavors together. If you’re short on time, a simple soy‑vinegar mix works well.
The Final Flourish
Vegetable oil is the medium that creates the crispness. Use a high‑smoke‑point oil like grapeseed, canola, or peanut oil. The oil must be hot enough to sear the batter instantly but not so hot that it burns.
The amount of oil isn’t critical as long as it’s enough to submerge the chicken pieces. Too little oil will cause the batter to stick to the pan, while too much will make the dish greasy.
The chicken itself is the canvas. Choose boneless, skinless breast for a lean, clean flavor. If you prefer a more robust taste, use thighs or a mix of cuts. Just remember that thicker pieces may need a longer fry time.
The Method — Step by Step
- Pat the chicken breast pieces dry with paper towels. This step is crucial because any surface moisture will cause the batter to bubble and separate. I dare you to taste this and not go back for seconds once you see that first golden bite.
- In a bowl, whisk together soy sauce, grated ginger, and rice vinegar. Let the chicken marinate in this mixture for at least 20 minutes, or overnight in the fridge for deeper flavor. The acid will tenderize the meat, making it juicy.
- In a separate bowl, combine all-purpose flour, cornstarch, baking powder, and salt. Whisk until the dry ingredients are evenly distributed. The dry mix should look like fine sand.
- Beat the egg in a small bowl. Add it to the dry mix and stir until just combined. The batter should be thick but pourable; if it’s too thick, add a splash of ice‑cold water.
- Heat 2–3 inches of vegetable oil in a deep‑fry pot or a heavy‑bottomed saucepan to 350°F (175°C). Use a thermometer for precision; if you don’t have one, do the water test: drop a spoonful of batter into the oil; if it sizzles and rises to the surface in 3 seconds, you’re good.
- Dip each marinated chicken piece into the batter, letting excess drip off. The batter should coat the chicken evenly and not pool on the surface. This is the moment of truth—watch the batter form a thin, even layer.
- Carefully slide the coated chicken into the hot oil. Fry in batches, making sure not to overcrowd the pot. Fry for 3–4 minutes per side, or until the coating turns a deep golden brown and the chicken reaches an internal temperature of 165°F (74°C). The edges should start pulling away from the pan.
- Remove the chicken with a slotted spoon and drain on a rack or paper towels. Let it rest for a minute so the juices redistribute. The first bite should feel like a crunch that dissolves into tender meat.
- Serve immediately with lemon wedges, grated daikon radish, and a side of tempura dipping sauce. Squeeze the lemon into each bite for a burst of citrus that balances the richness.
- Enjoy while hot and crisp. If you’re serving a crowd, keep the chicken warm in a low oven (200°F) until ready to serve. The batter will stay crisp, and the chicken will stay juicy.
That's it — you did it. But hold on, I've got a few more tricks that'll take this to another level.
Insider Tricks for Flawless Results
The Temperature Rule Nobody Follows
Many cooks assume that “high heat” is the key, but the secret lies in precision. A temperature of 350°F (175°C) is optimal. If you’re using a deep fryer, set it to 350°F and let it stabilize. If you’re using a stovetop, use a thermometer or the water test. I’ve seen people fry at 400°F and end up with a burnt exterior and raw interior.
Why Your Nose Knows Best
The first scent you notice when you start frying is a sweet, toasted aroma. That’s the batter’s sugars caramelizing. If the scent turns sharp or acrid, the oil is too hot. Trust your nose; it’s the best indicator that the oil is at the right temperature.
The 5-Minute Rest That Changes Everything
After frying, let the chicken rest on a rack for 5 minutes. This step allows the steam to escape, preventing the coating from becoming soggy. The rest also lets the juices redistribute, keeping the meat juicy. I’ve seen dishes that skip this step and end up with a dry, over‑cooked interior.
The Secret of a Light Batter
Add ice‑cold water slowly, a tablespoon at a time, while whisking. The coldness prevents gluten from forming, which keeps the coating airy. If you add all the water at once, the batter will become heavy and the texture will be dense.
The Perfect Lemon Finish
Squeeze the lemon wedges just before you bite. The citrus oils release instantly, giving a bright burst that lifts the dish. If you squeeze too early, the lemon’s acidity can start to break down the batter’s structure.
The Daikon Dazzle
Grated daikon adds a subtle peppery crunch. It also helps to absorb excess oil, keeping the dish from feeling greasy. If you’re not a fan, you can omit it; the dish will still be delicious.
Creative Twists and Variations
This recipe is a playground. Here are some of my favorite ways to switch things up:
Spicy Sriracha Glaze
Brush the fried chicken with a mix of sriracha, honey, and a splash of soy sauce. The glaze adds a sweet‑spicy kick that pairs well with the light batter. It’s great for those who like a bit of heat.
Miso‑Infused Batter
Add a tablespoon of white miso to the batter for a umami boost. The miso will give the coating a deeper, savory flavor that’s reminiscent of Japanese ramen broth. It’s a subtle change that makes a big difference.
Citrus‑Herb Marinade
Swap the ginger for fresh thyme or basil in the marination. The herbs add a fragrant, herbal note that complements the lemon wedges. It’s a fresh, summery twist.
Crunchy Sesame Seed Crust
Sprinkle toasted sesame seeds onto the batter before frying. The seeds add a nutty crunch and a visual pop of color. It’s an easy upgrade that feels gourmet.
Asian Slaw Side
Serve the chicken with a quick slaw made of shredded cabbage, carrots, and a sesame‑rice dressing. The slaw adds crunch, freshness, and a tangy contrast to the fried chicken. It’s a balanced meal in one bite.
Ginger‑Garlic Aioli
Whip up a light aioli with garlic, lemon zest, and a touch of ginger. Drizzle it over the chicken for a creamy, aromatic finish. The aioli adds richness without overpowering the crispness.
Storing and Bringing It Back to Life
Fridge Storage
Store fried chicken in an airtight container in the refrigerator for up to 3 days. Keep the chicken on a paper towel to absorb excess oil. When ready to serve, reheat in a hot skillet for a few minutes to restore crispness.
Freezer Friendly
Freeze the chicken in a single layer on a baking sheet before transferring to a freezer bag. This prevents clumping. When you’re ready, thaw overnight in the fridge and reheat in a skillet. The coating will stay crisp, and the chicken will stay juicy.
Best Reheating Method
Reheat in a skillet or air fryer at 375°F for 3–4 minutes. Avoid microwaving, as it will make the batter soggy. Adding a tiny splash of water before reheating creates steam that helps the coating regain its airy texture.